


We don't want a grass lawn at our house, so instead we put in raised garden beds.
I occasionally do handyman work along with other physical products. If you'd like to commission a custom build, I can help you with that.
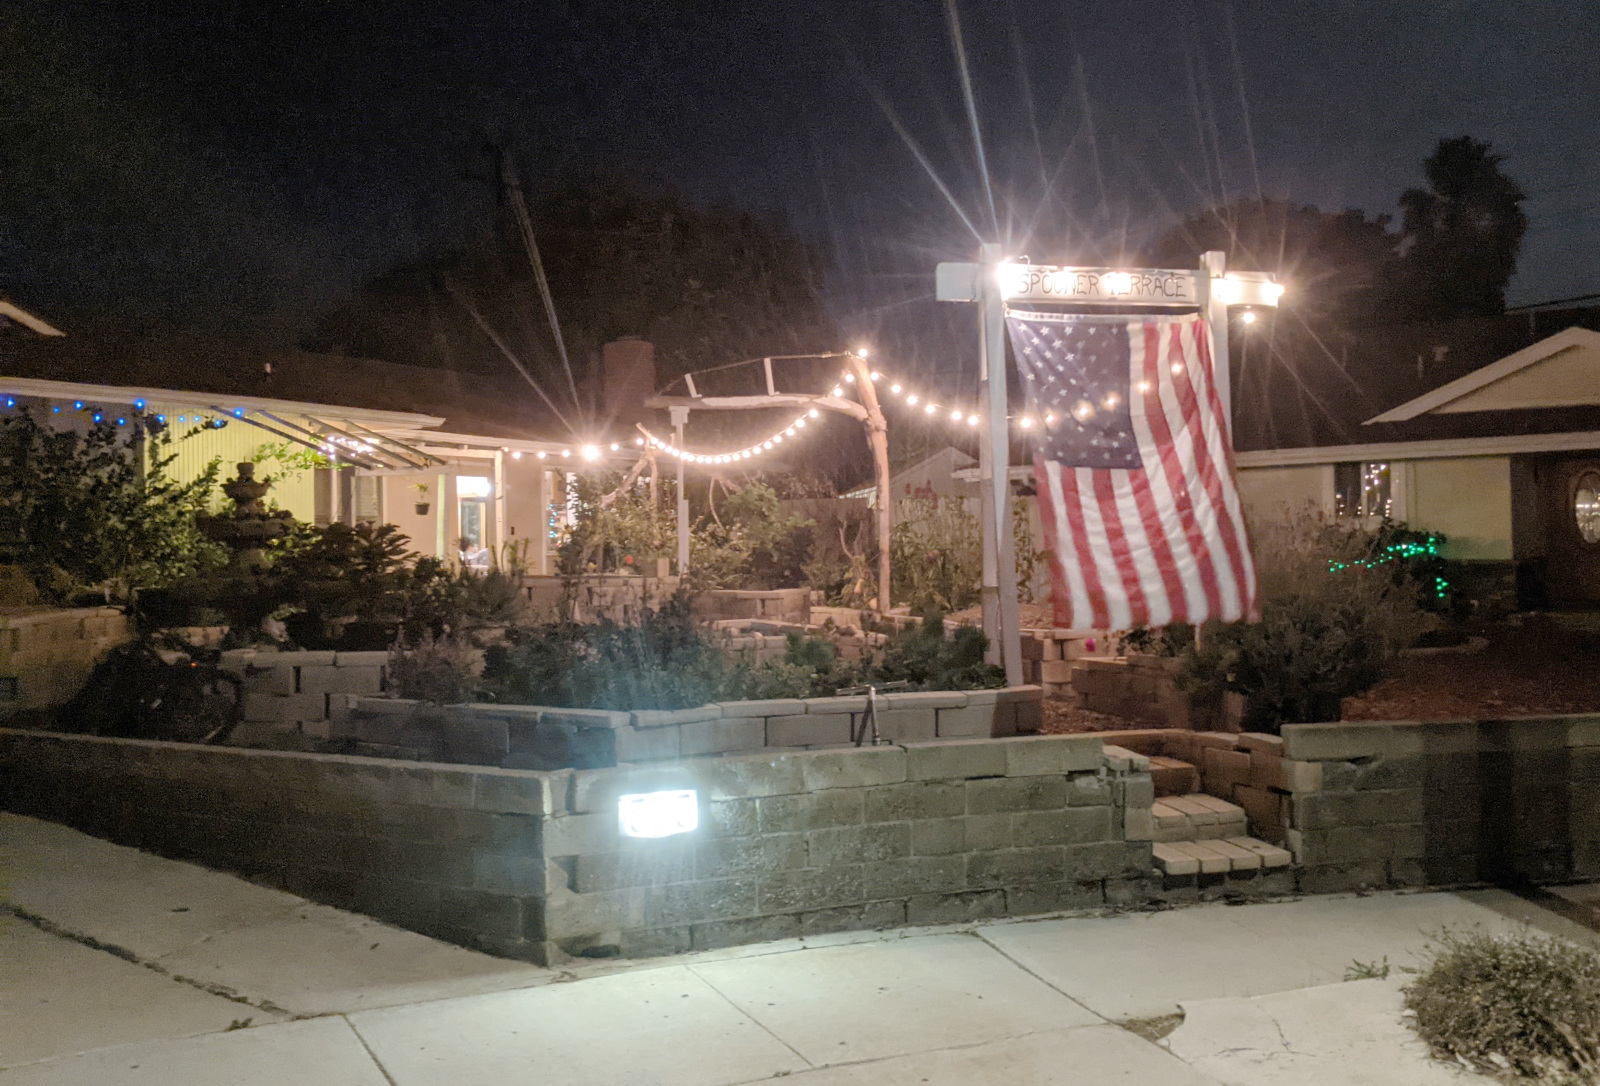
Three Arches. A view from the street of the front garden and the three arches. I didn't originally intend it this way, but the way it went together, there's a progression from milled lumber in the front to raw branches in the back. Kinda a neat effect!
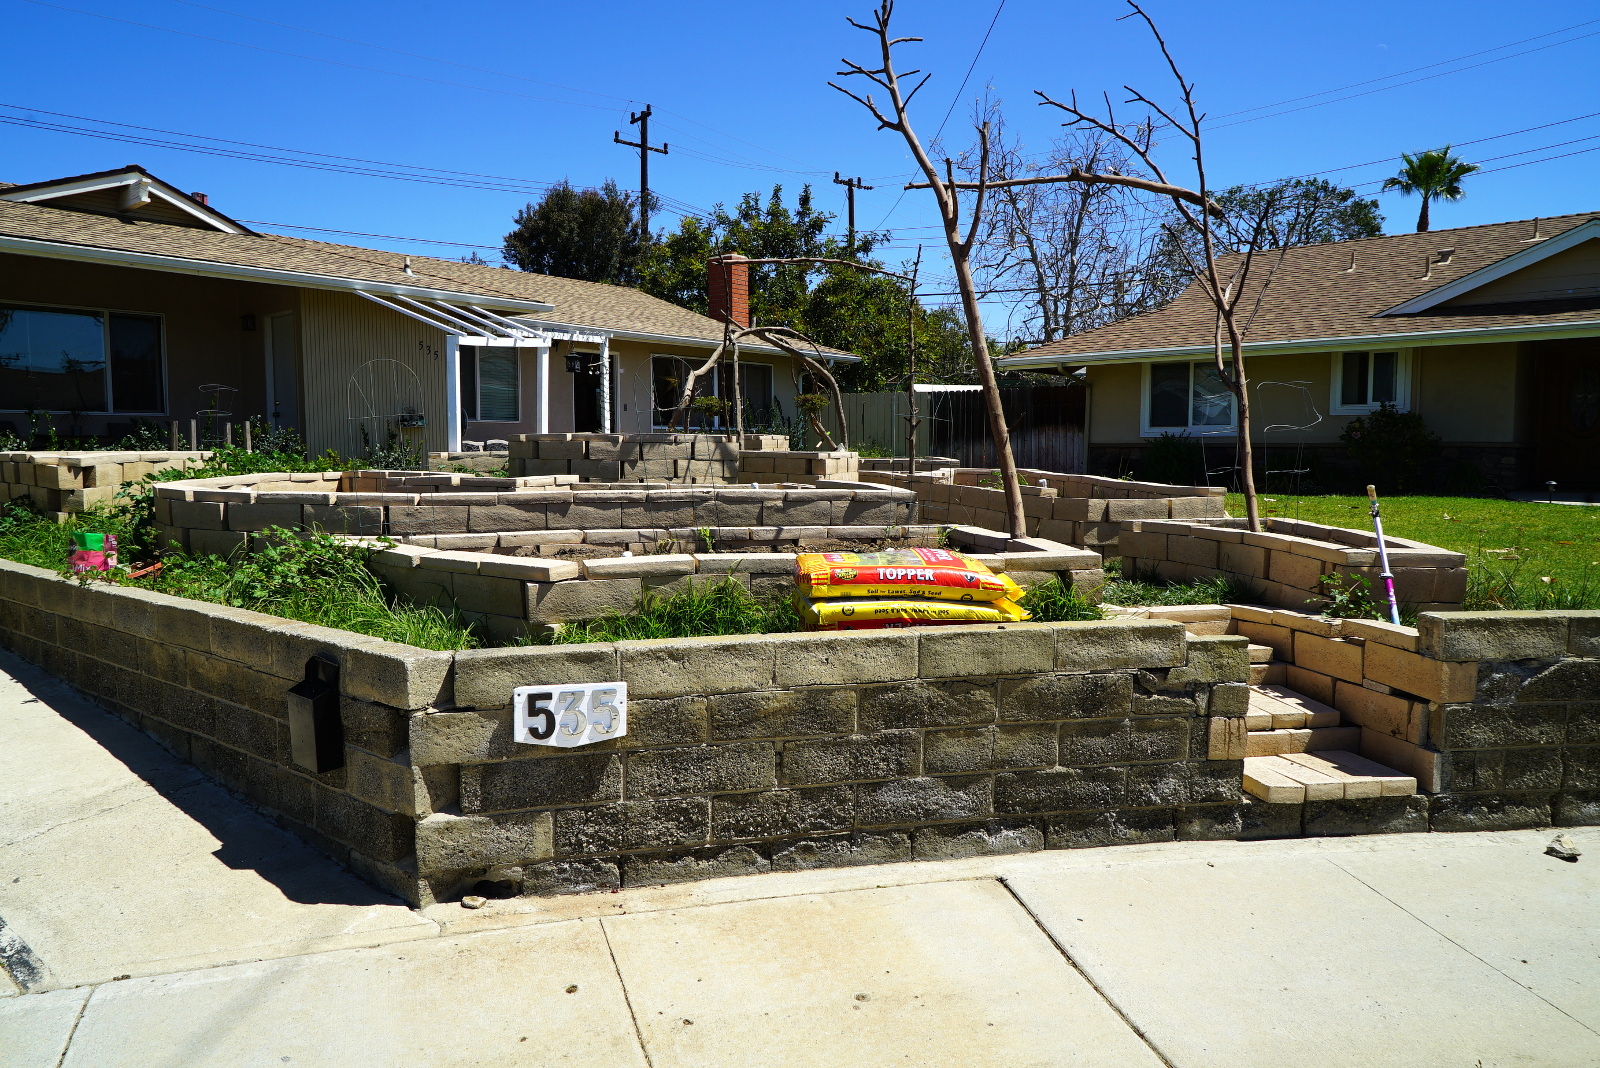
You can also see in the bottom-left corner the original solar power illuminated street numbers.
Front yard, pretty much finished. Looking out the front door, at the three arches. I like how the arches aren't lined up in a row.
Front Raised Beds At Night. In addition to the obvious lights, I embedded LED strips in the thin beams resting on the curved beam to the left.
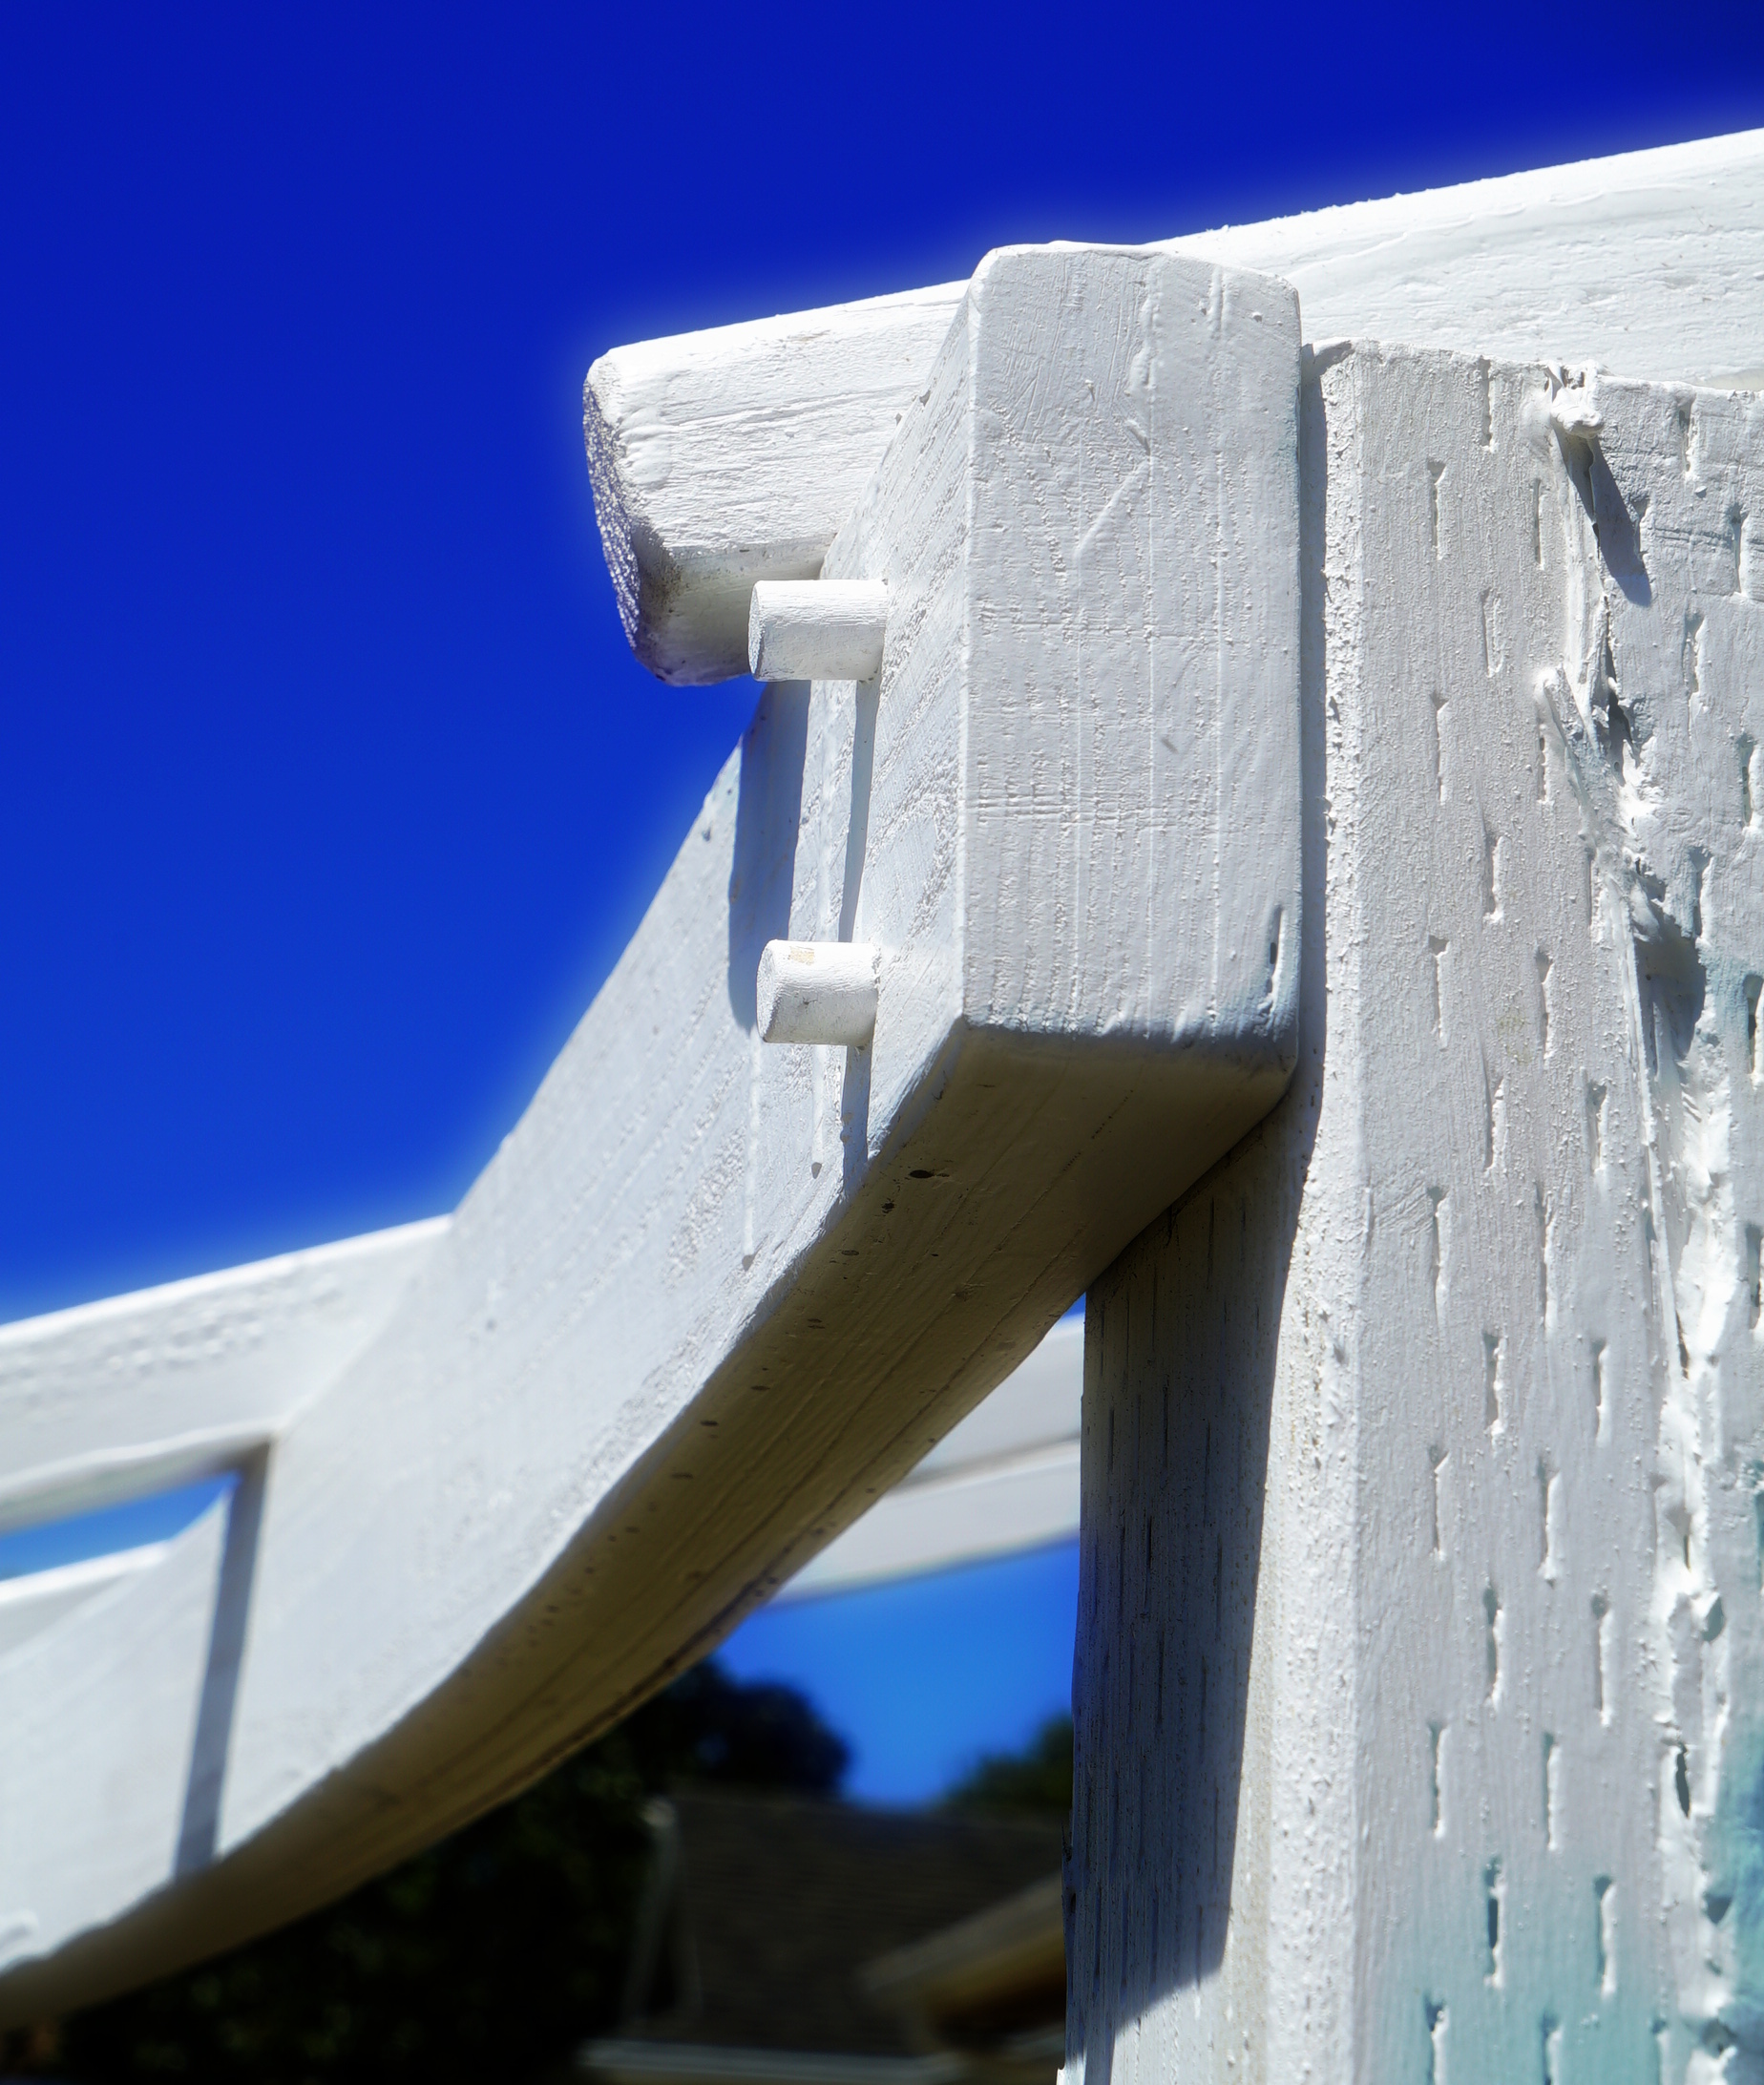
Here's a better view of the curved laminated 2x4. What a pain that was to put together. Probably should have just split some 1x4s instead, but it was a learning experience. Turned out pretty well anyway.
Here's a view toward the street, looking out through the three arches.
Wonky Arch. The branches stick out a bit into the pathway, but the path is wider there anyway, so it works out pretty well. The wheelbarrow clears just fine.
Arch Cable. This arch was leaning over a bit, so I added a rope to pull it square. The two posts here provide the extra tension that I wasn't able to apply directly. The wedges keep them from slipping out of position.
Middle Arch. I trimmed the edges of the cross-beam with a chainsaw.
Front Arch. I'm quite pleased with how the curved posts turned out. Fibonacci ratios for the brace lengths of course.
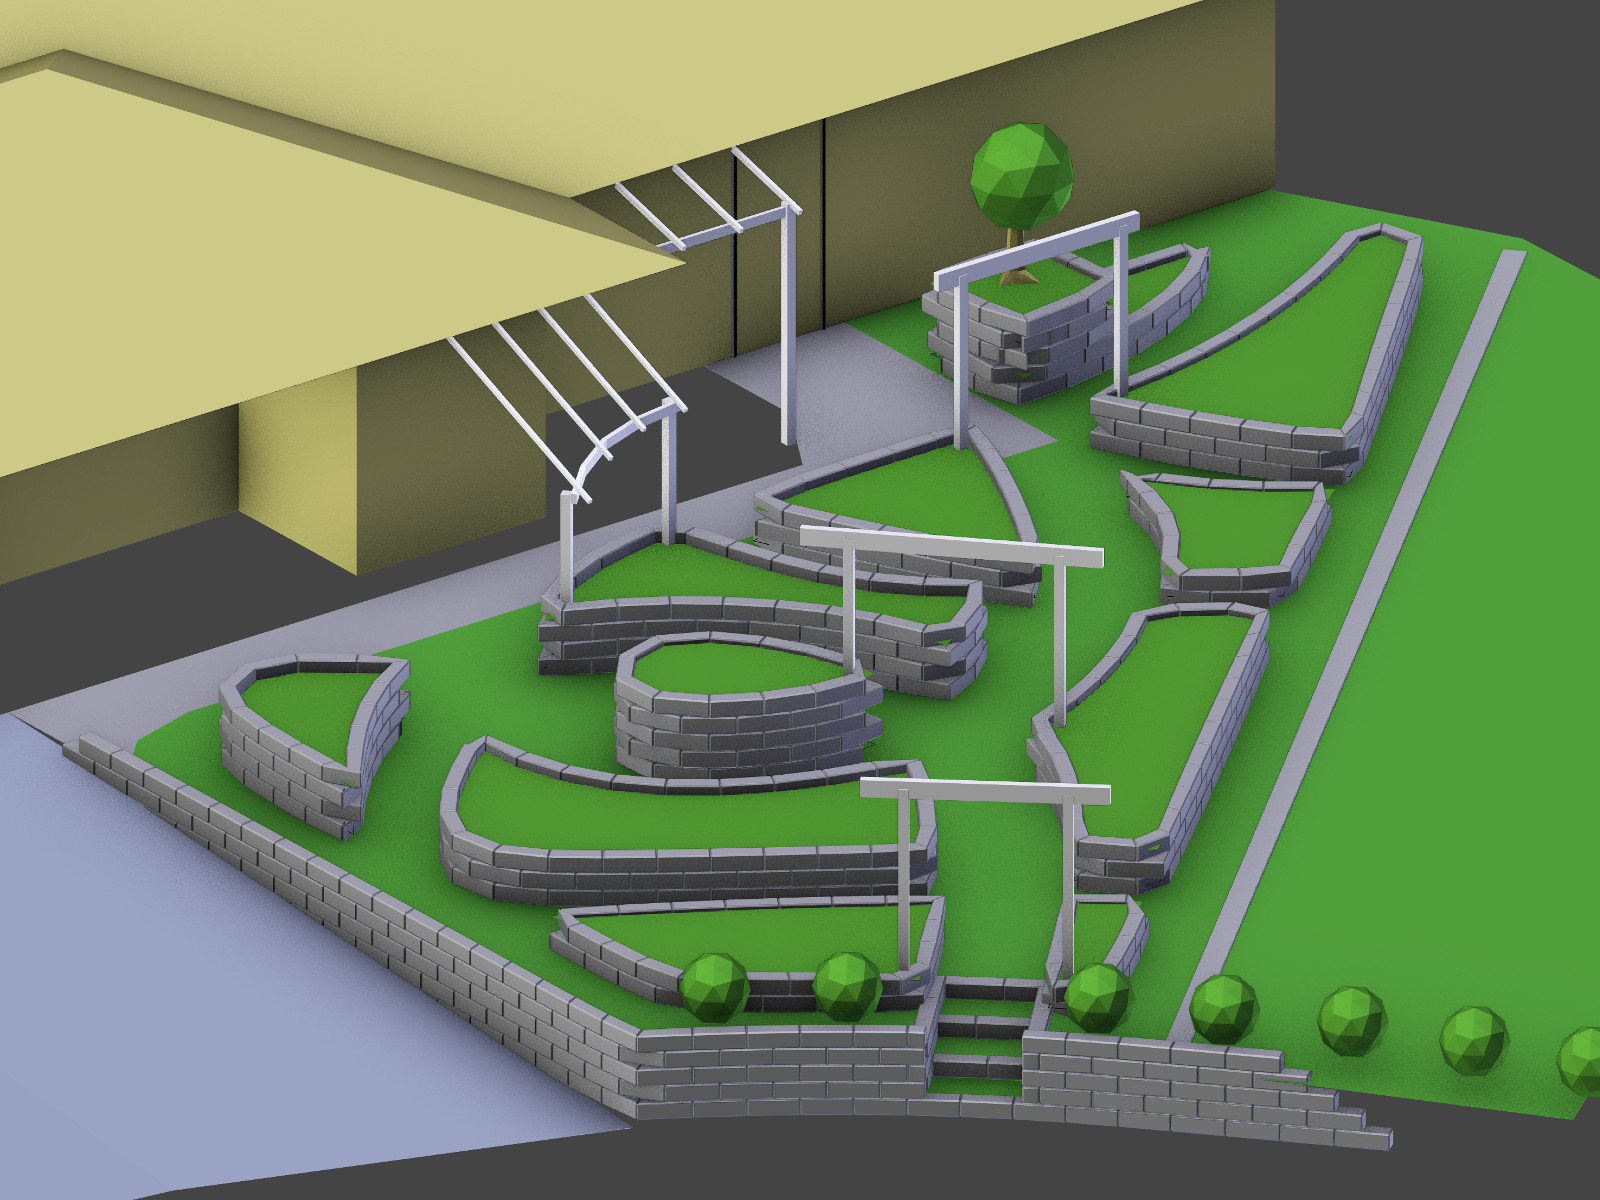
Version One of the front yard remodel plan.
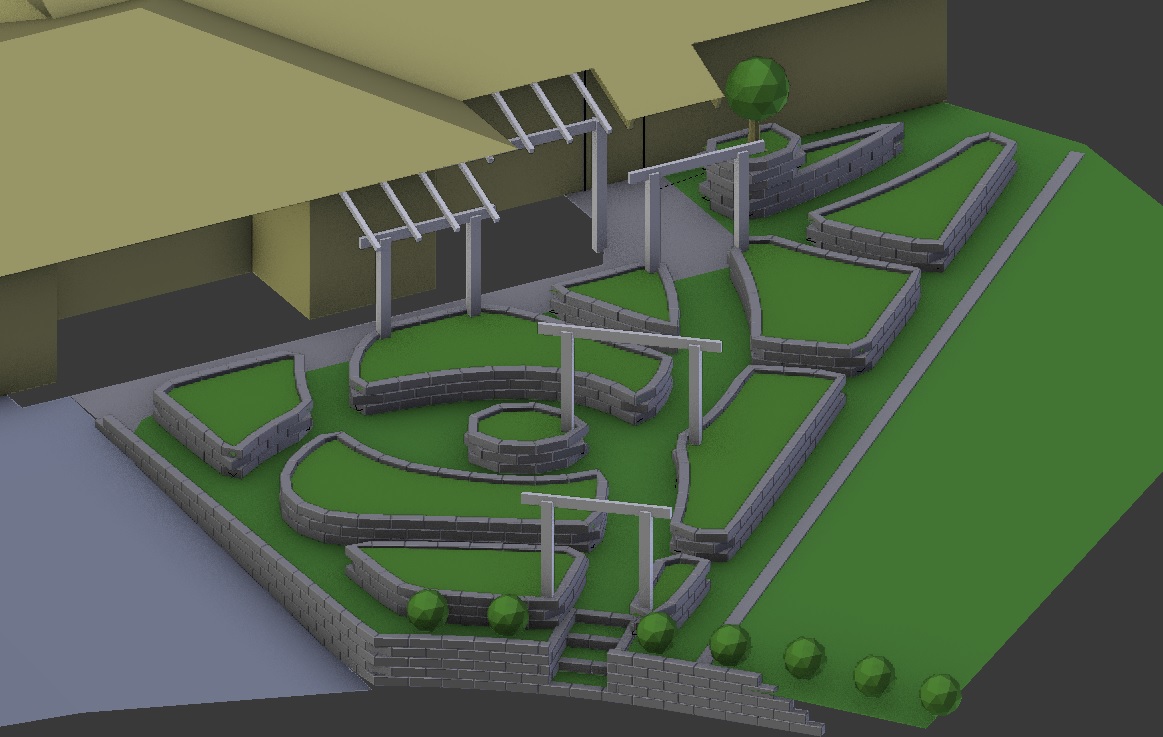
Front Yard Remodel, Final Form! Or at least, final enough. This is what I used to buy the materials.
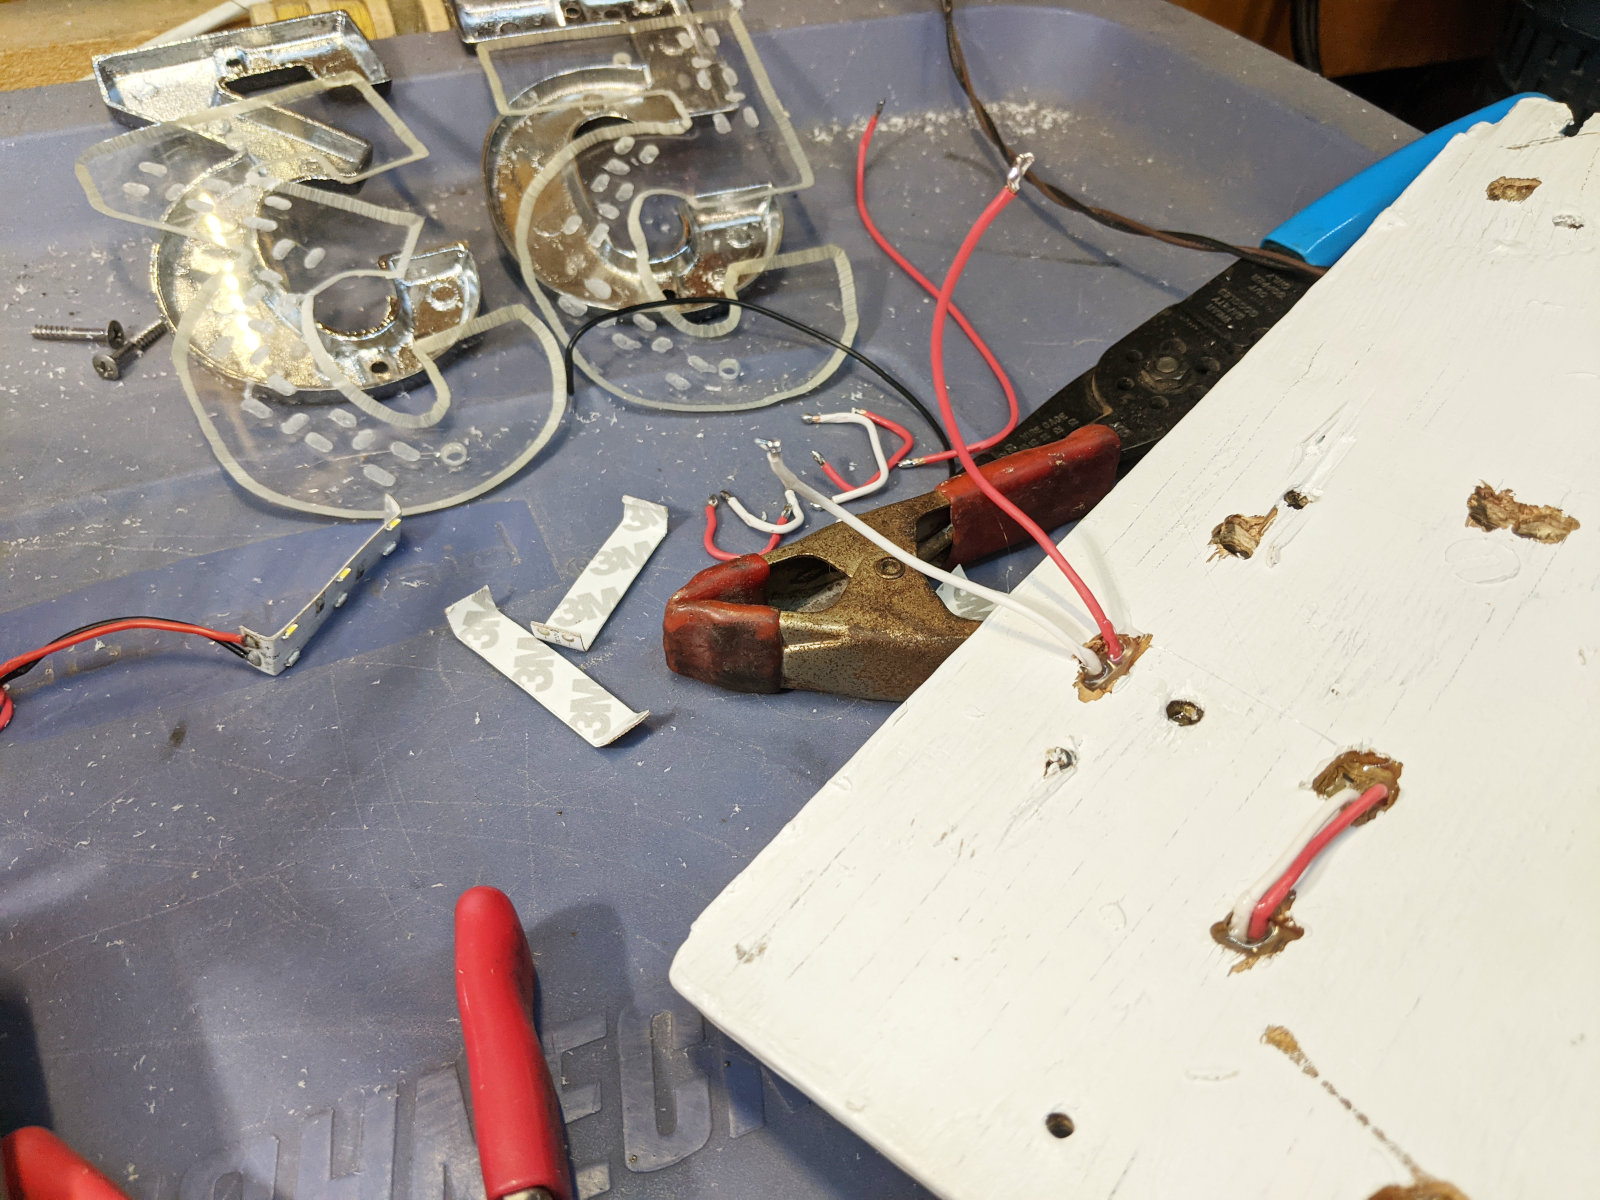
Illuminated Sign Internals. I carefully and manually made cutouts for each element in the LED strips.
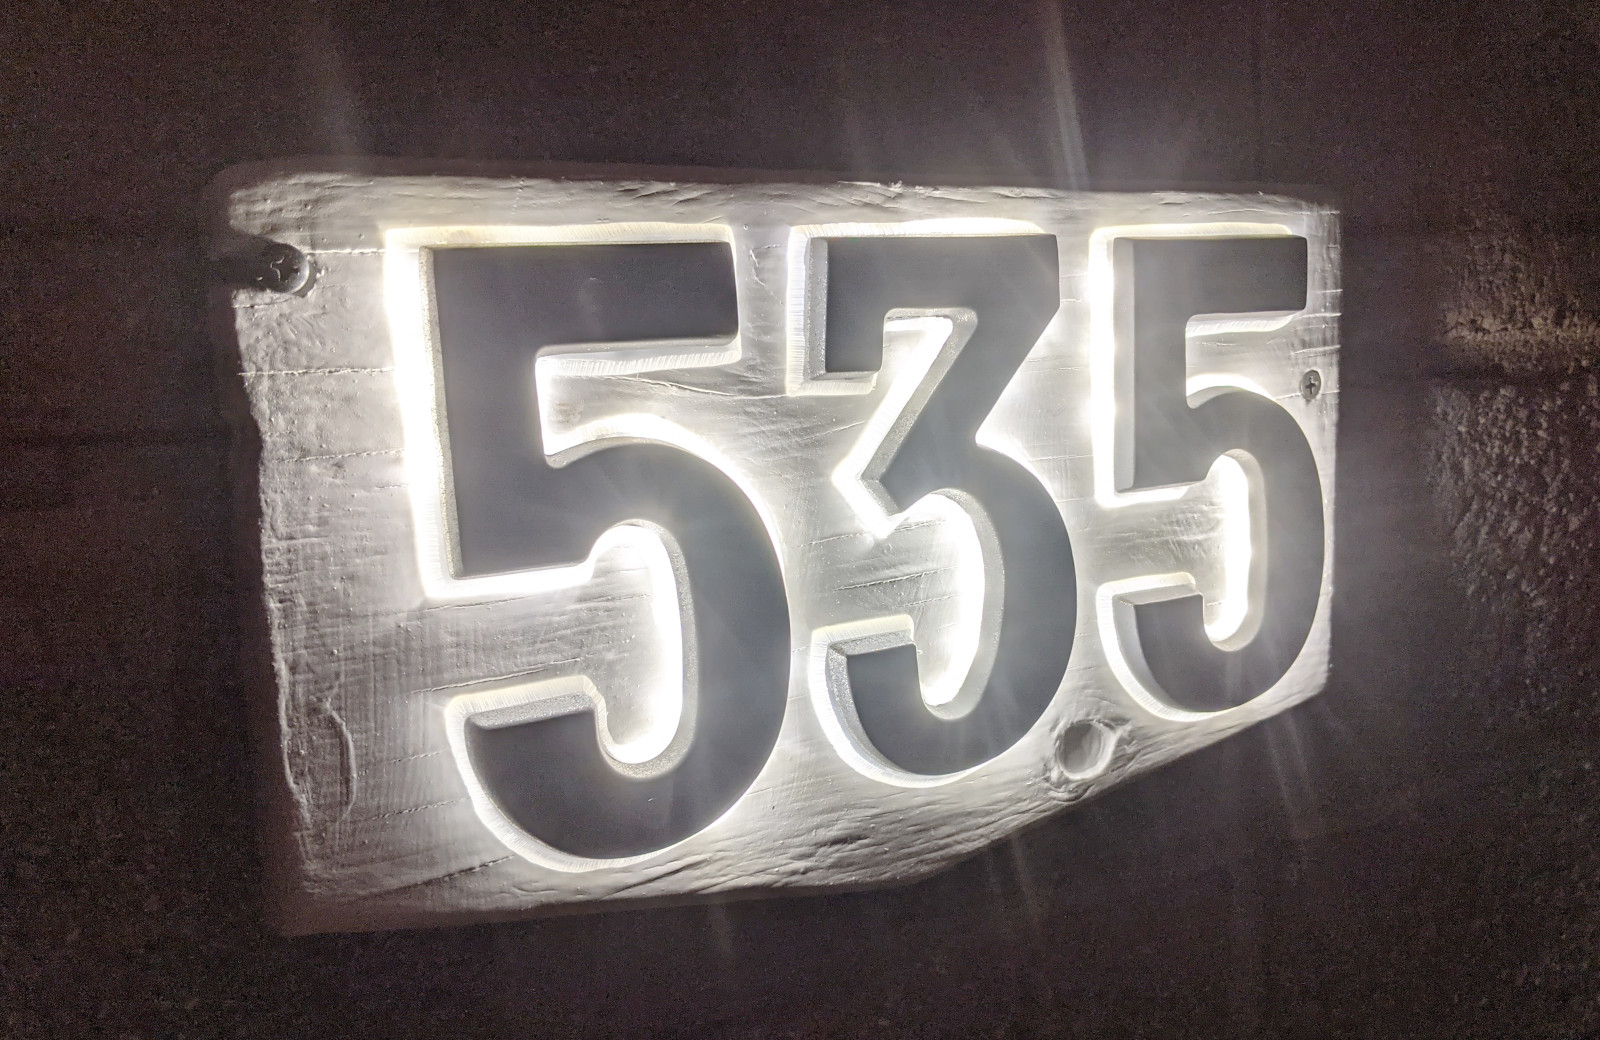
Illuminated Sign. It originally ran on some scavanged solar powered lamps, but those deteriorated eventually, so I switched it to an external 12V power supply.
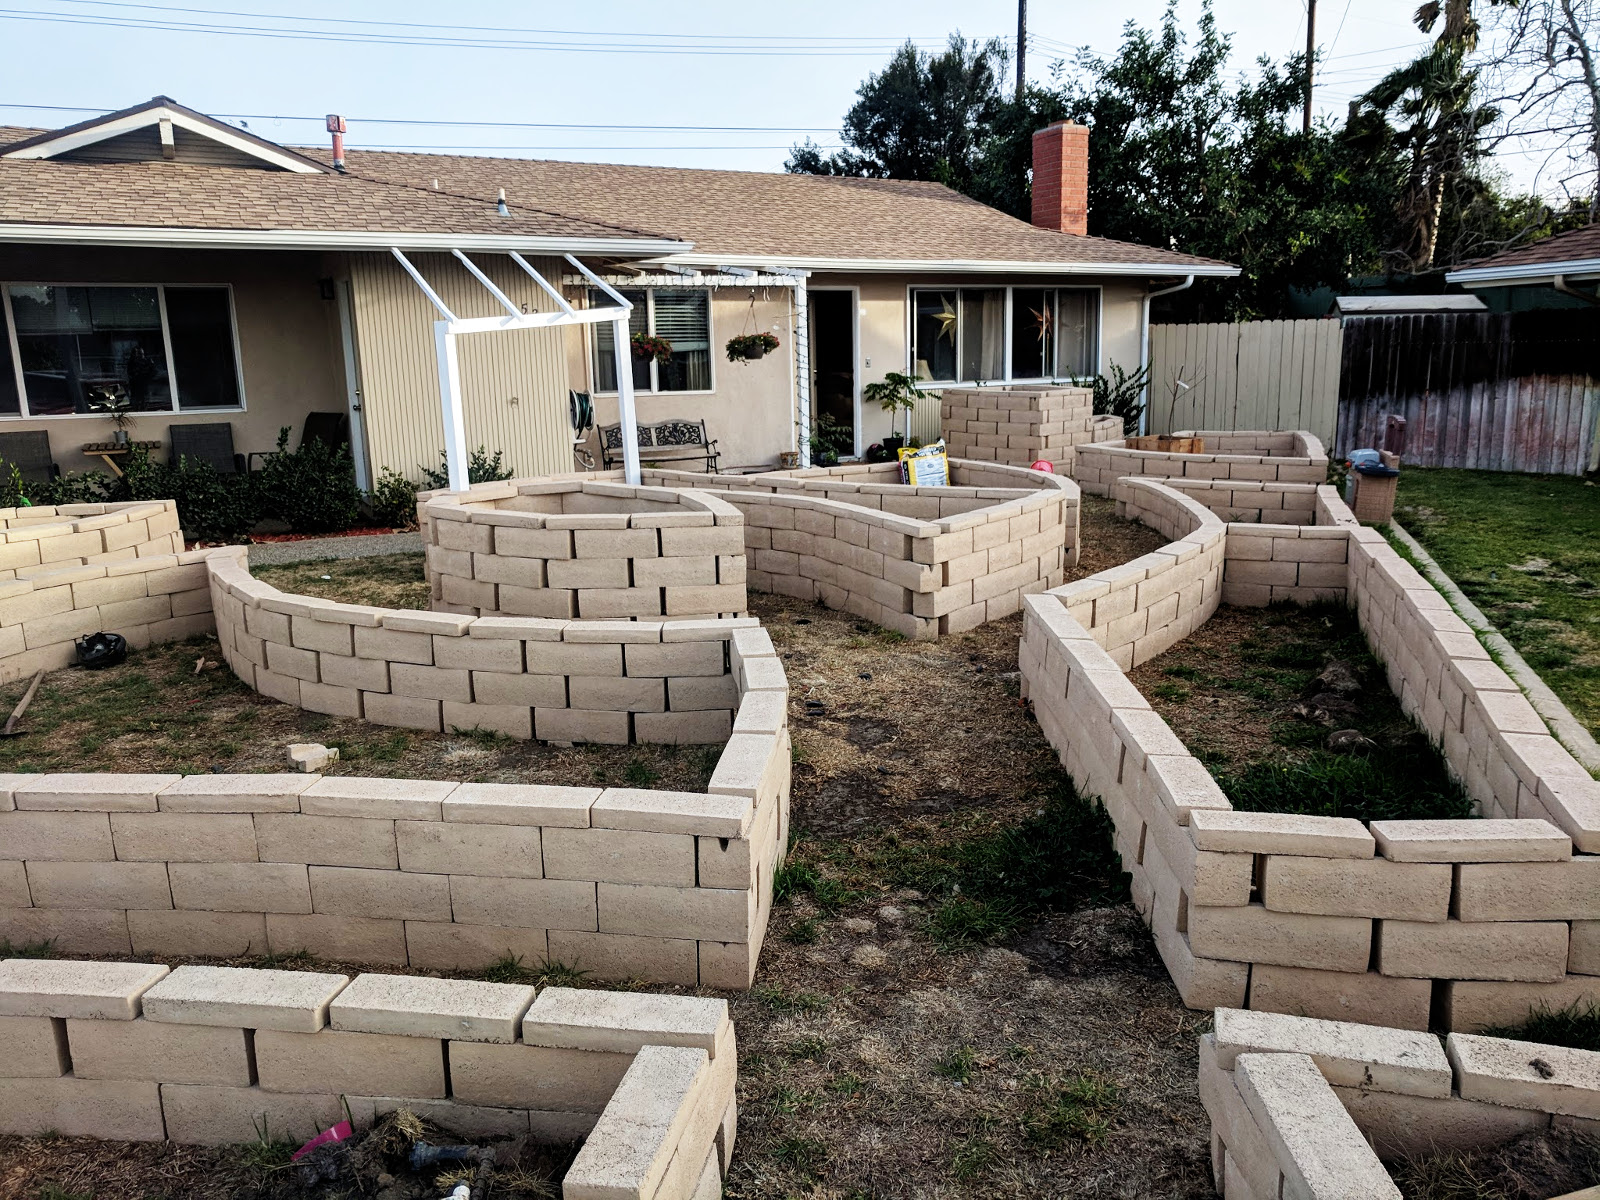
Empty raised beds. The bricks are all sitting without moarter. We're planning on plastering them at some point, but want to wait until we're sure this is the setup that we want. Fortunately, we never did cement them in place because the new owners took these all apart.
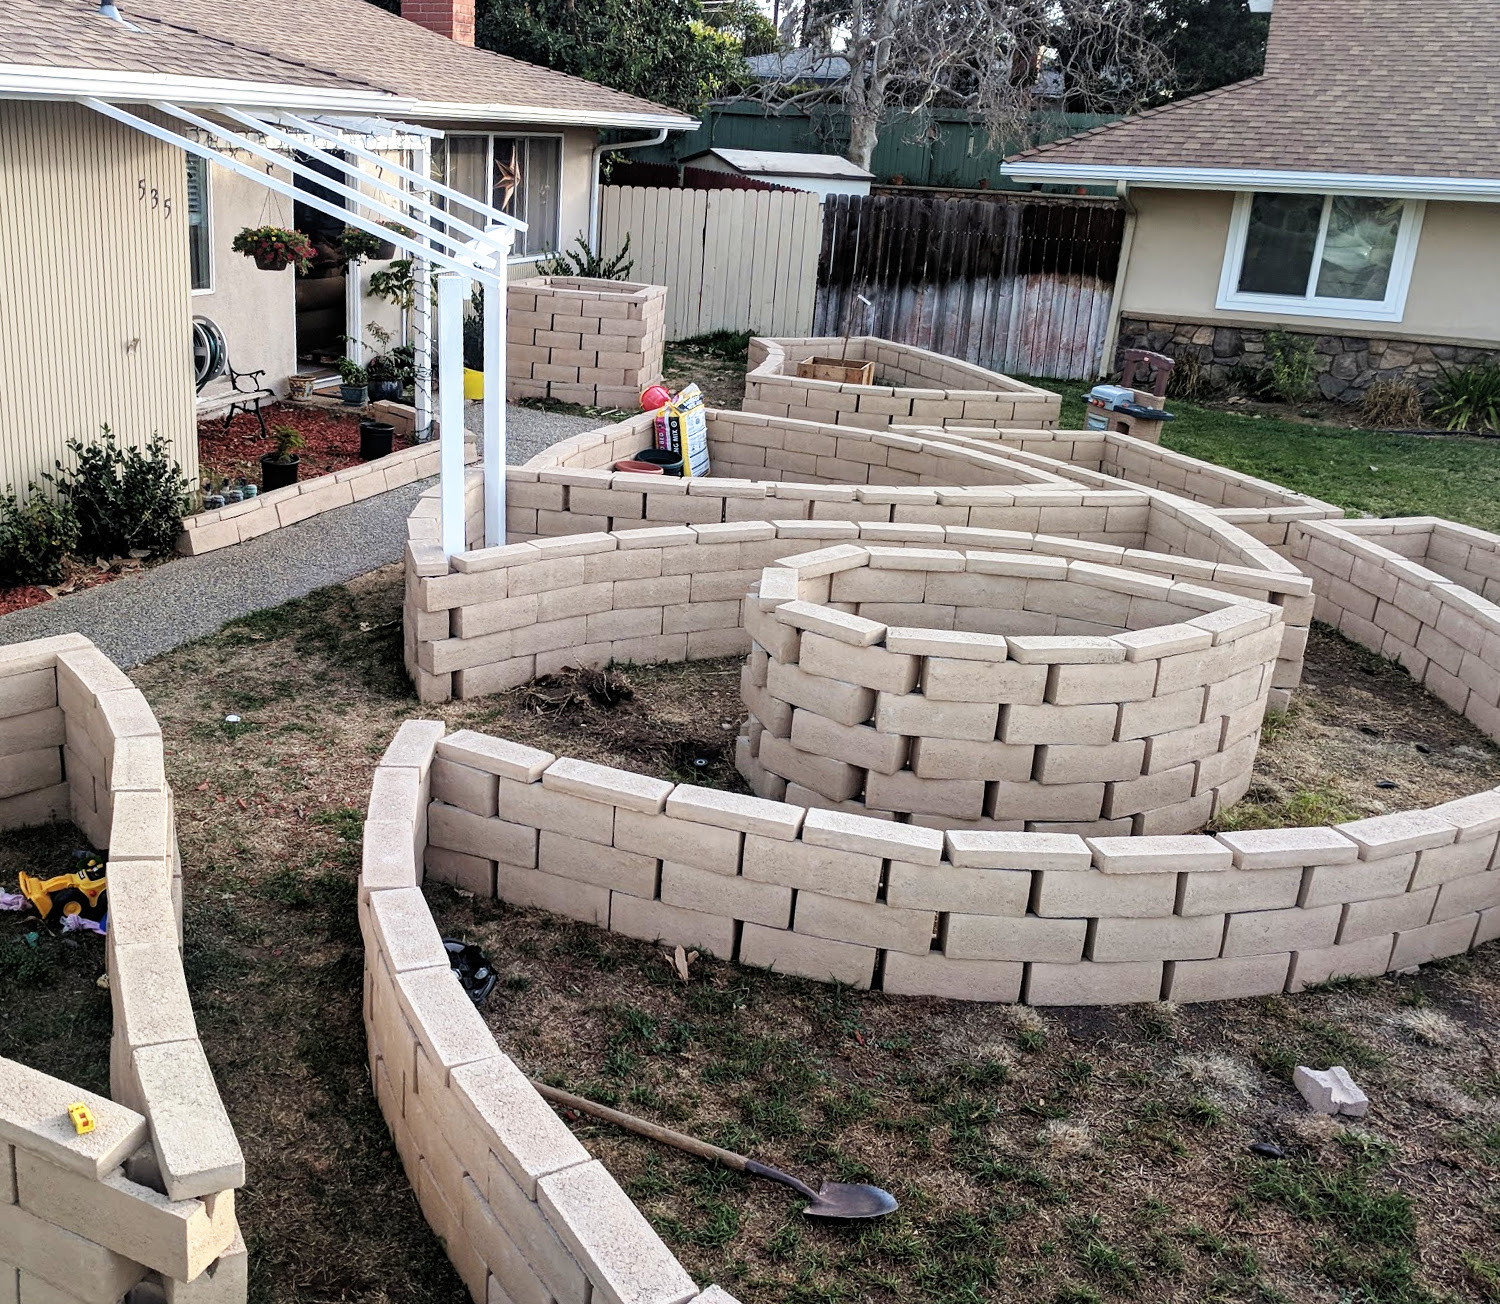
Front Yard Raised Beds with awning over the walkway. We liked the little awning that the previous owners had put up, so we made a matching one to extend over the walkway. The curved beam was a real pain, as I cut a 2x4 into four strips, and then glued them all back together in a curve.
The front yard with the raised beds in place, steps leading up to the front door, a new number plate, and some (temporary) arches.
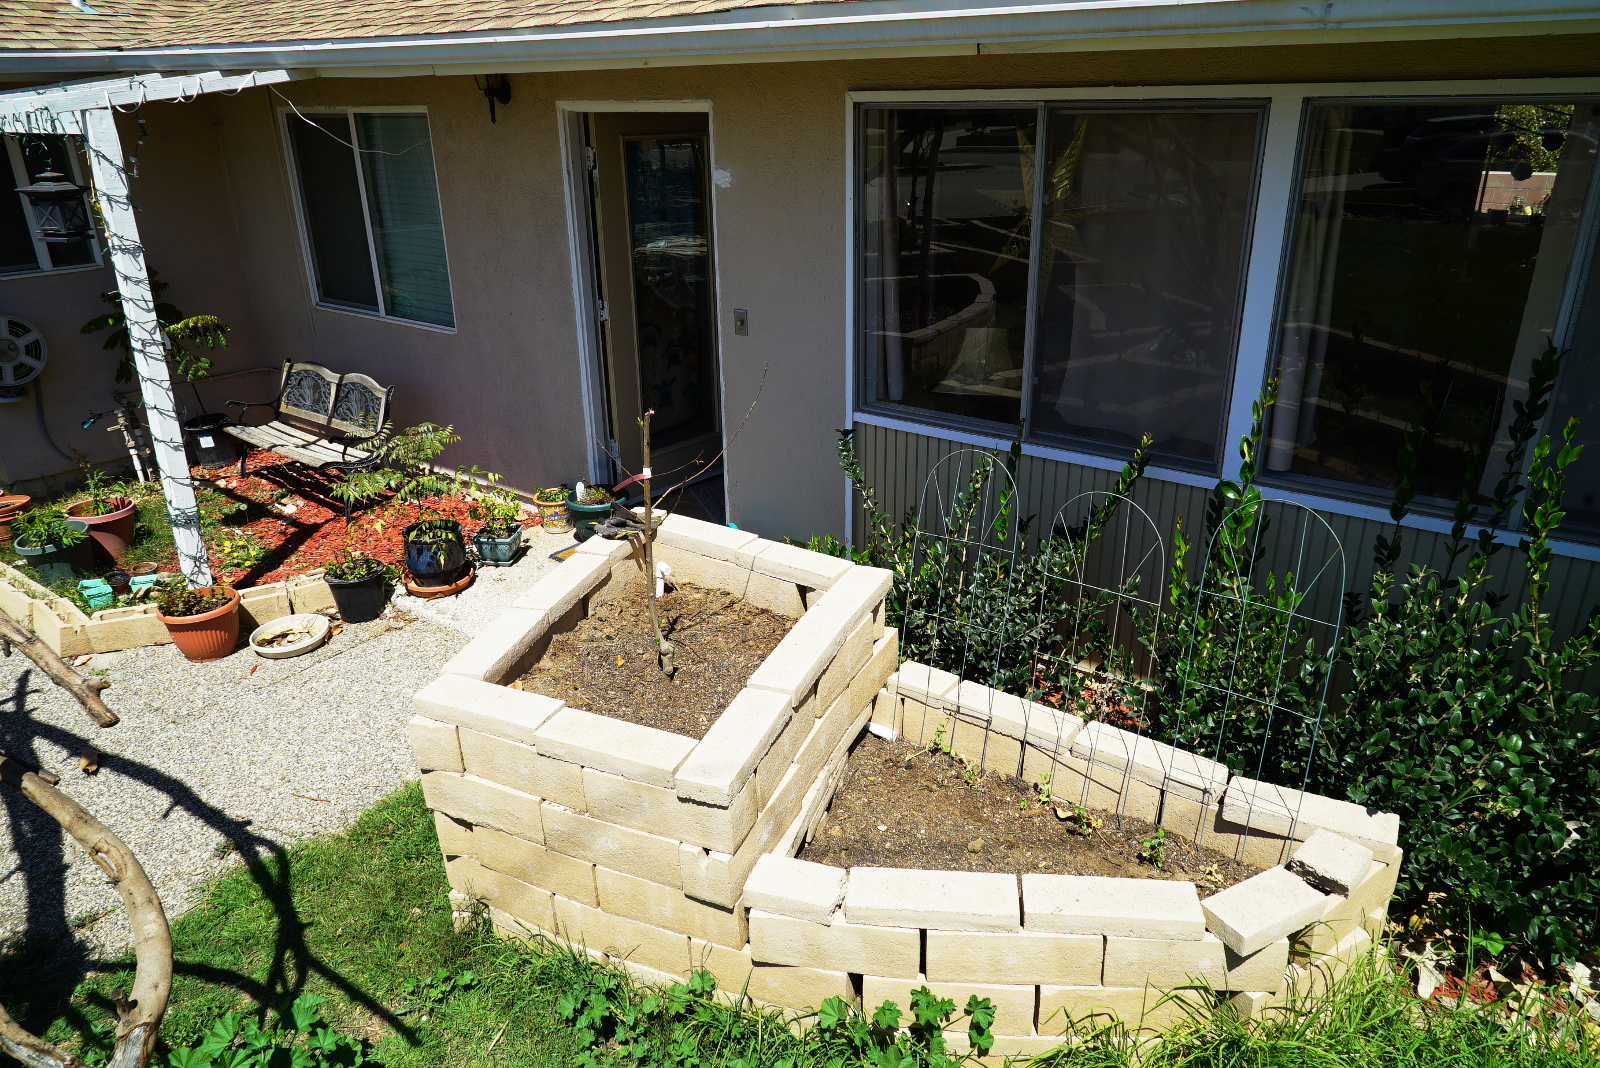
This raised bed is divided into two tiers. The upper one has a dwarf fruit tree that we're hoping to train to grow out over the walkway. That hope was never realized, and the new owners tore all of these raised beds out.
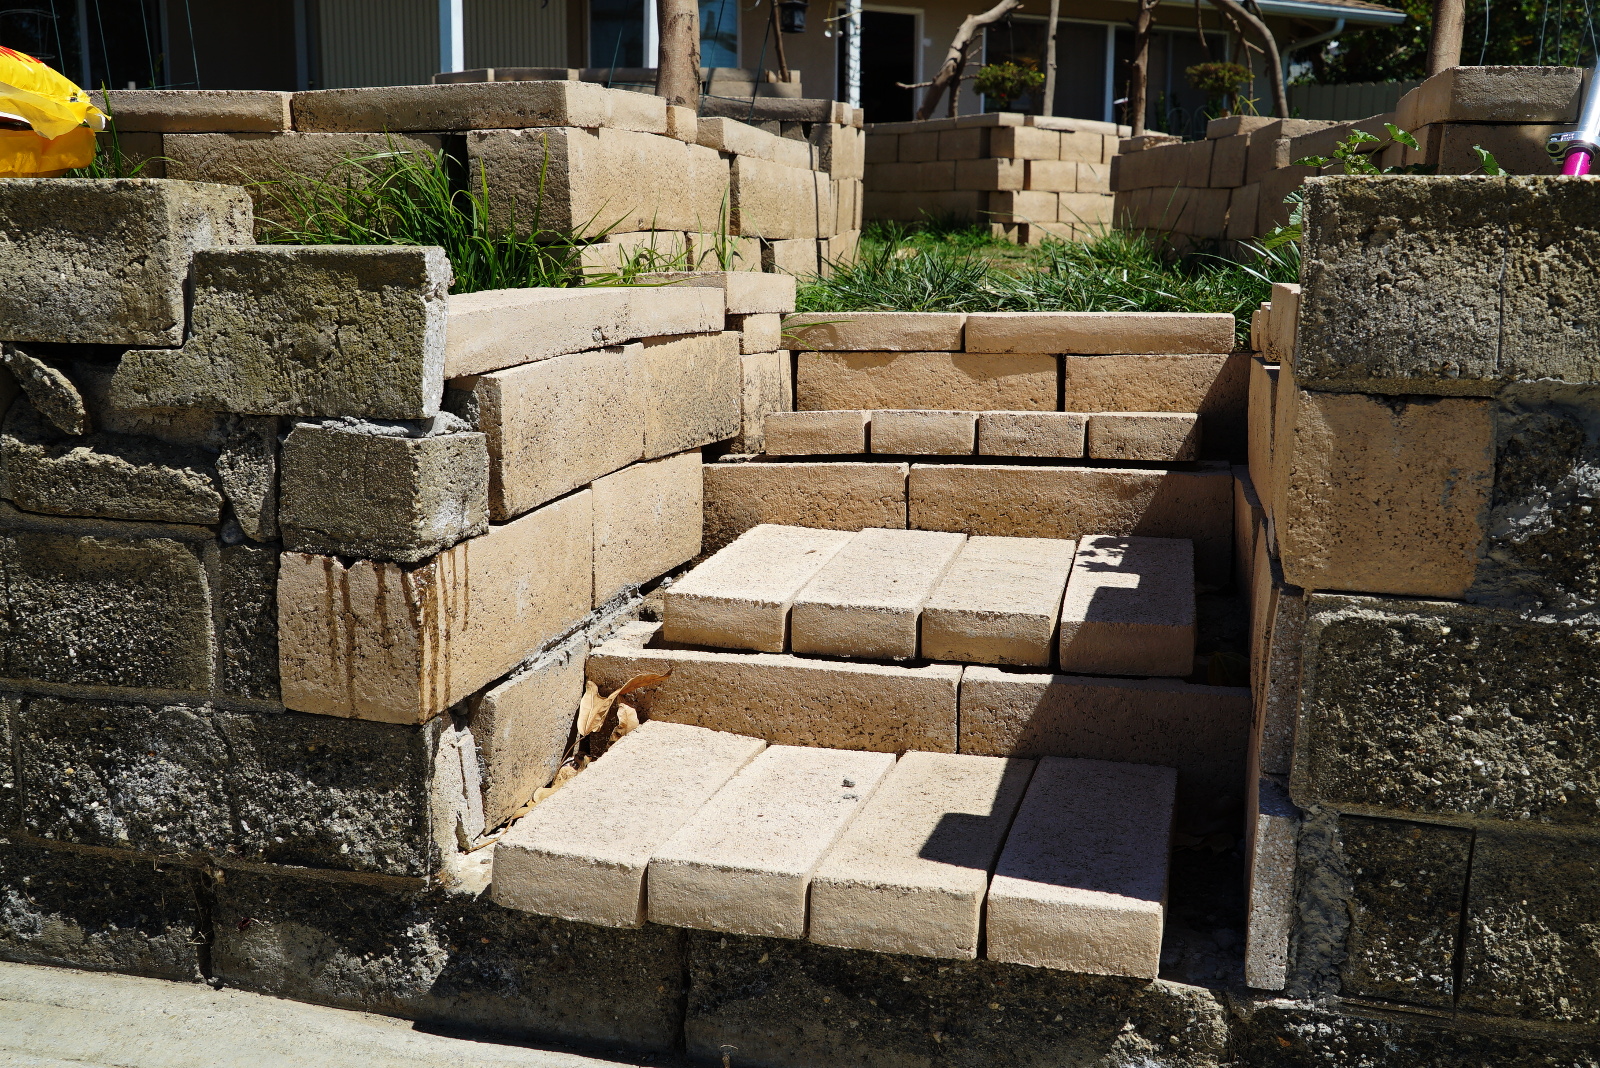
Front Steps. So you can get to the door without walking up the driveway. I've since added mortar to secure them, but they are all in the same place.
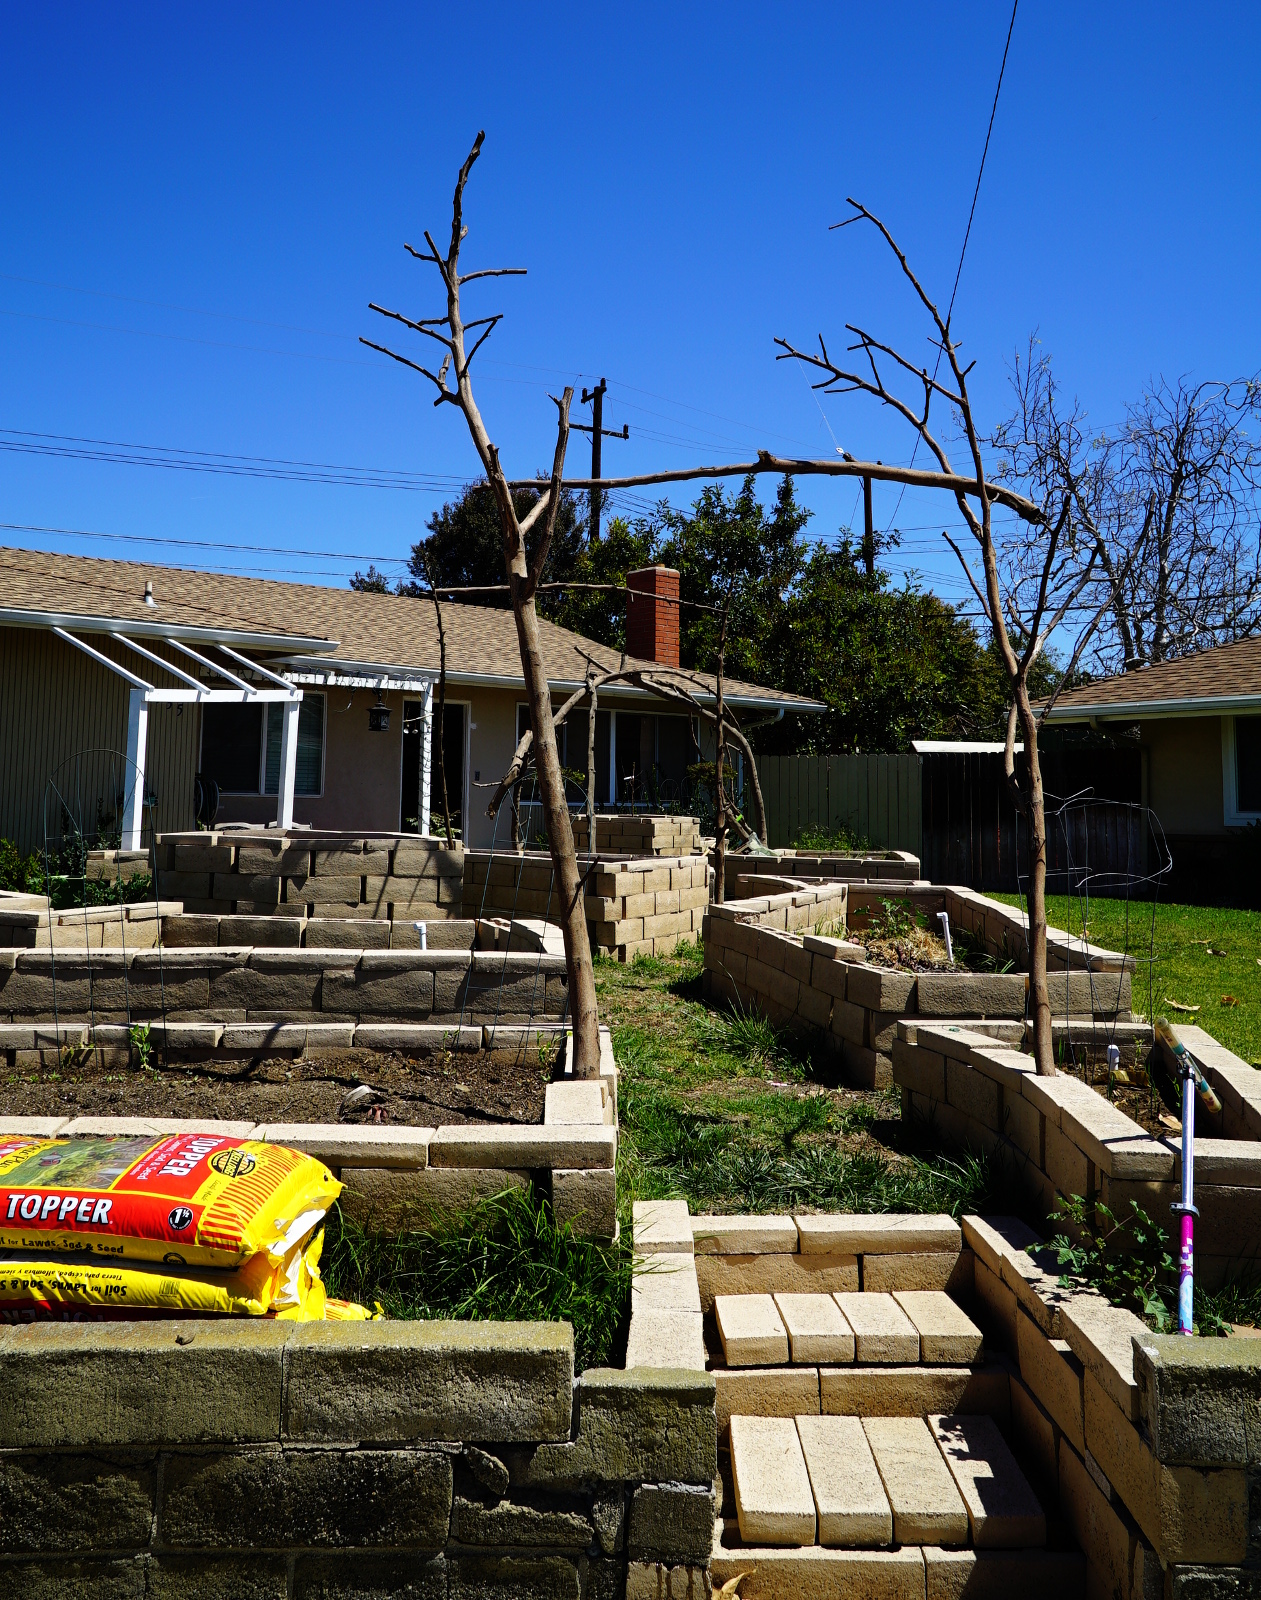
Front Arches. I'm not sold on the whole natural wood arches thing, but we'll see how it works for a bit. We can always put something else in later.
And in fact, that's what we ended up doing. We even got a zoning complaint from someone saying we had dead plants in our front yard. This is how they looked before replacing the front two arches.
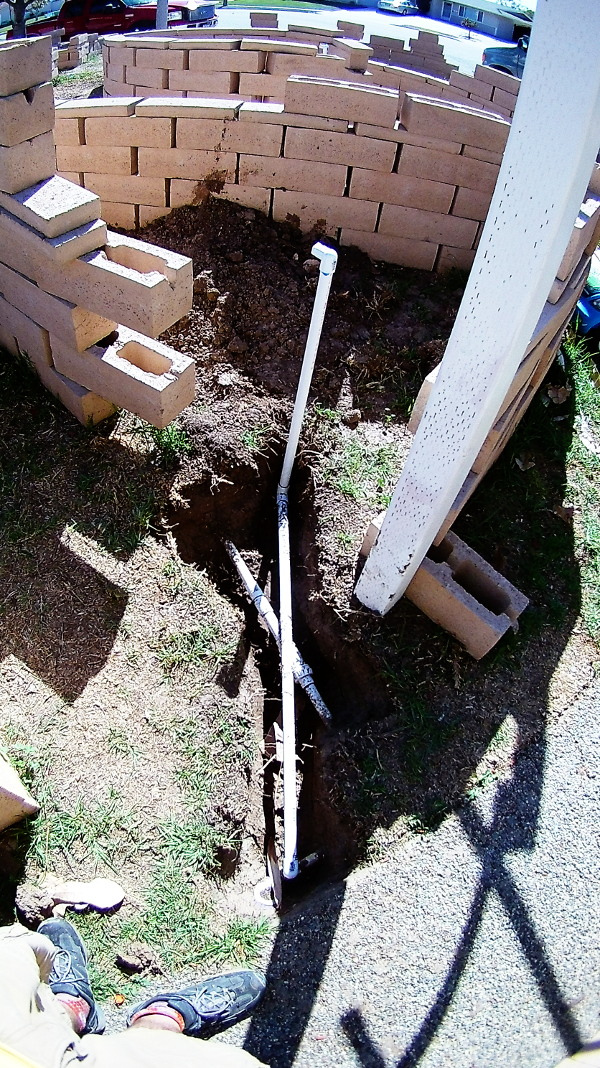
Plumbing Example. Irrigation plumbing for the raised beds. There was existing sprinkler lines in place, so I just hooked some new pipes up to the old threaded connectors and called it a day. I may have also broken a pipe or two in the process, which needed to be repaired.
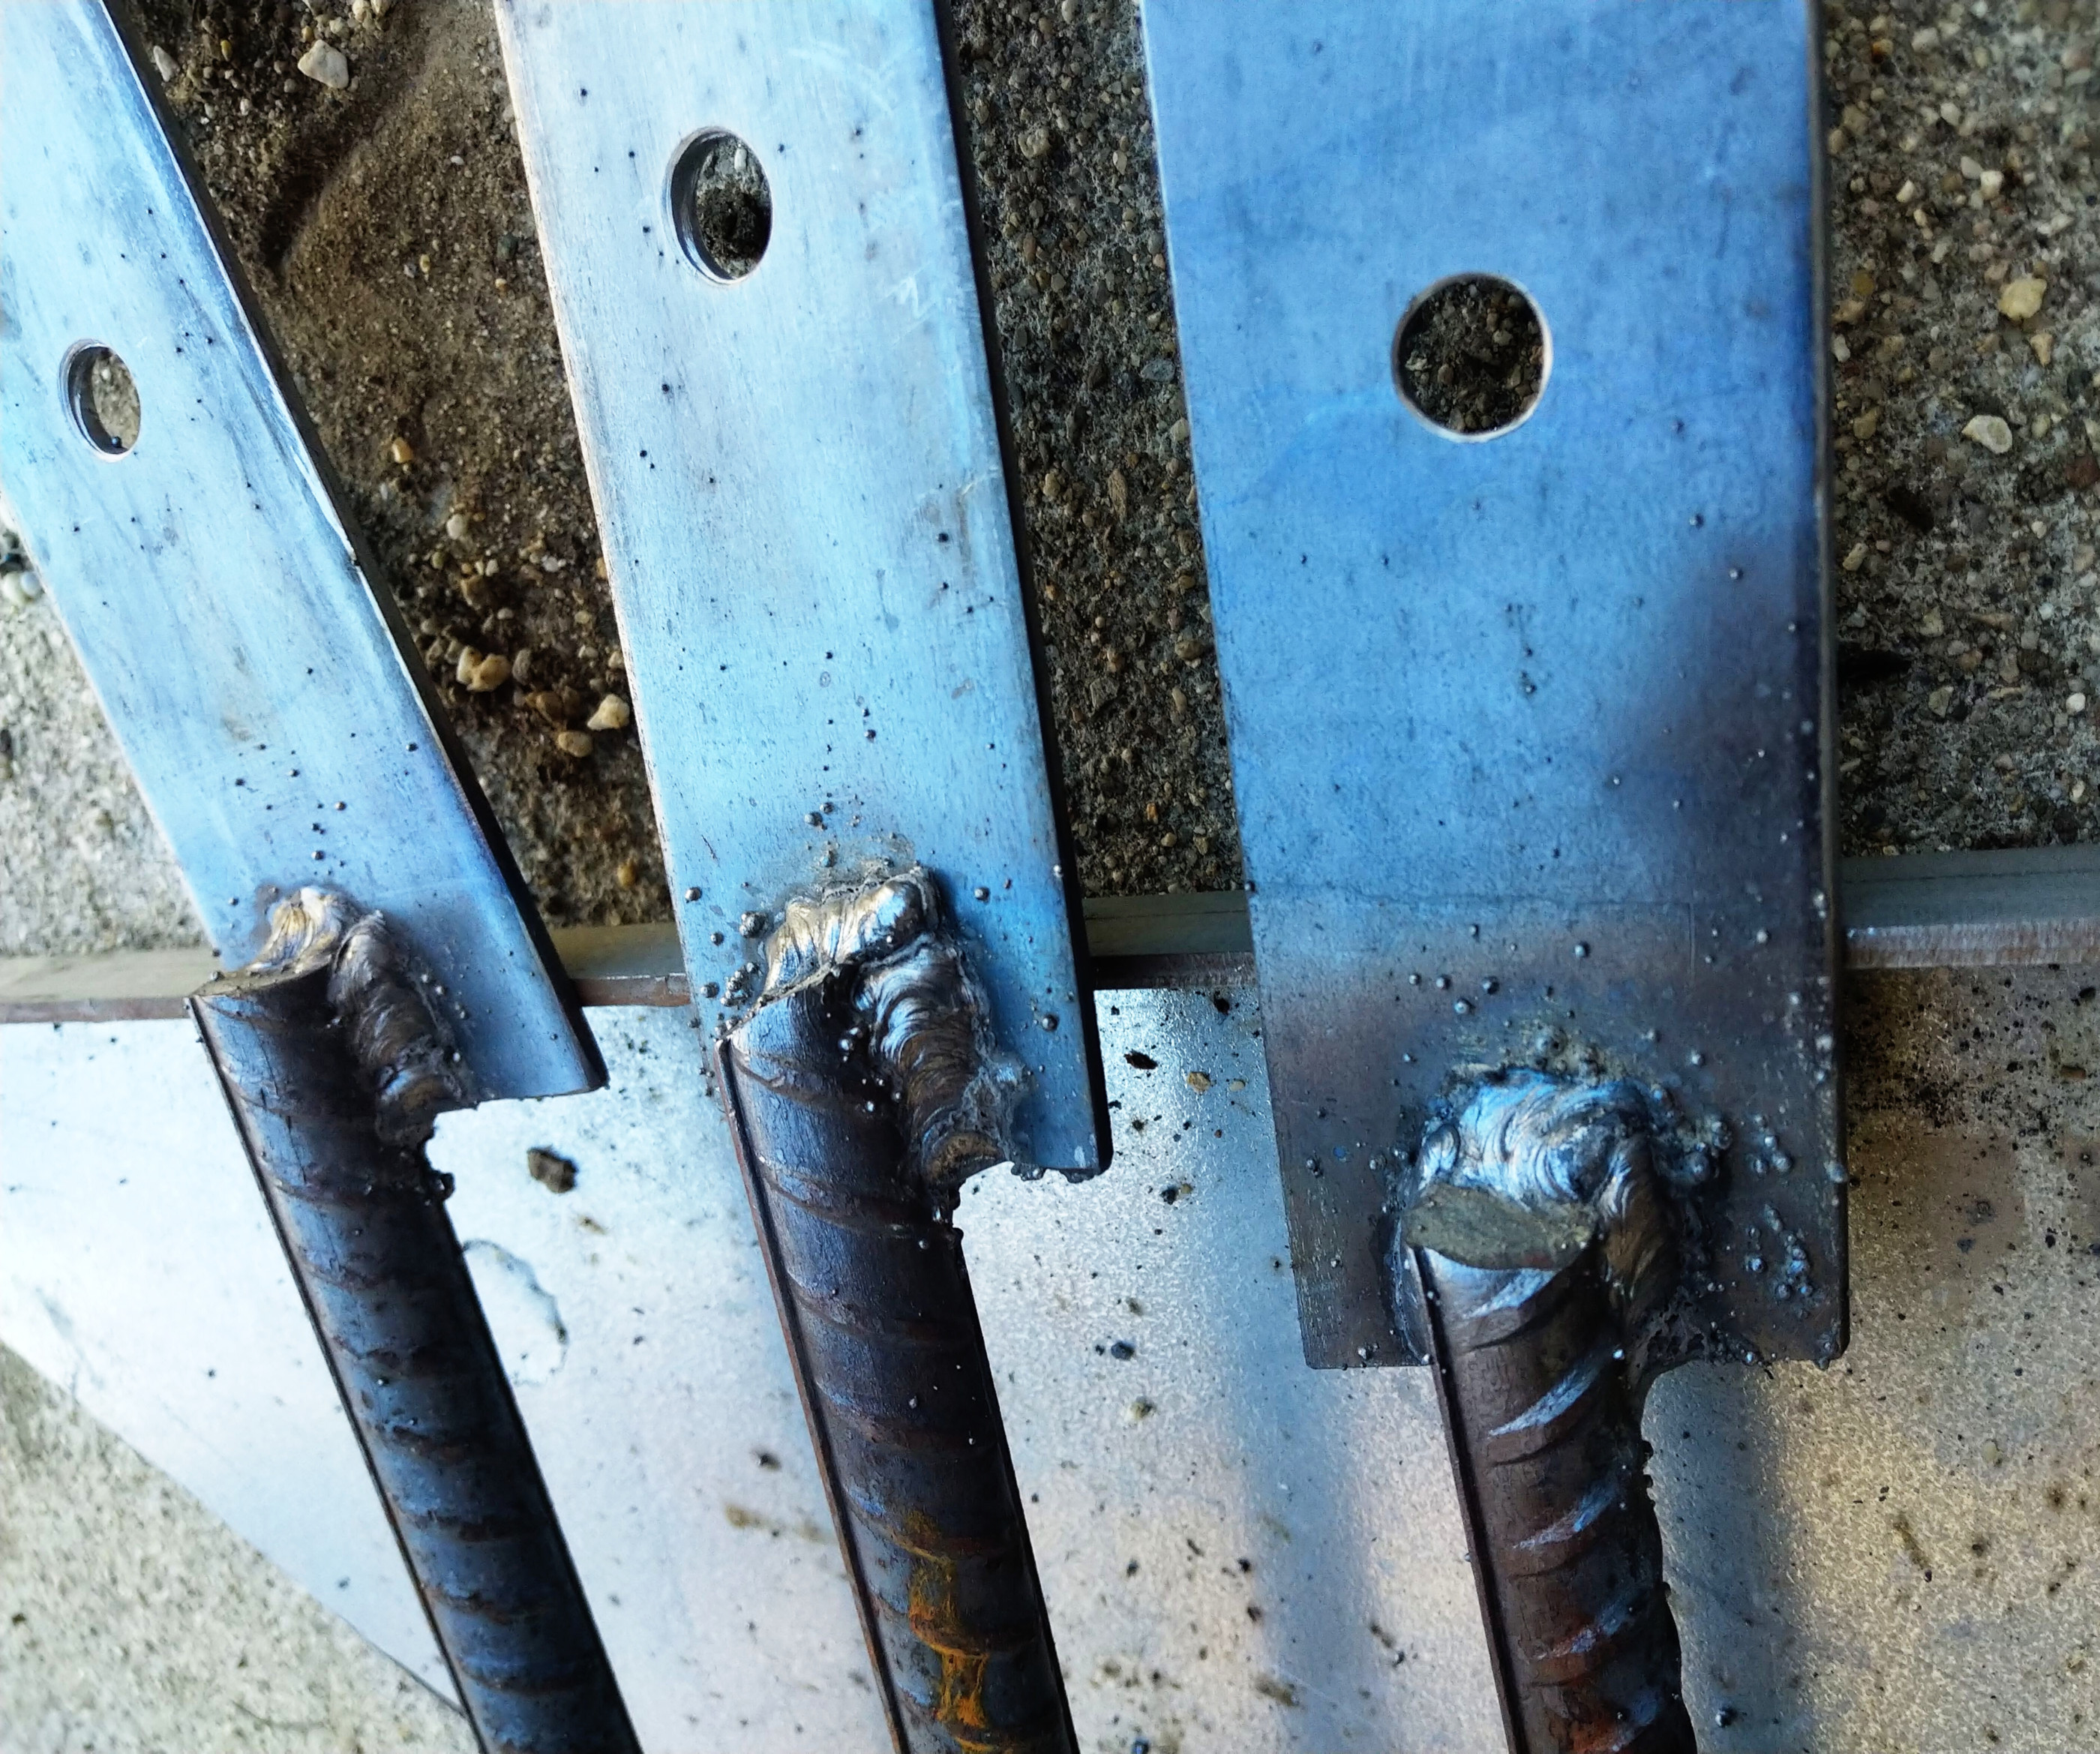
Anchor Welds. I welded these plates on to the re-bar, to make it easy to bolt the posts on.
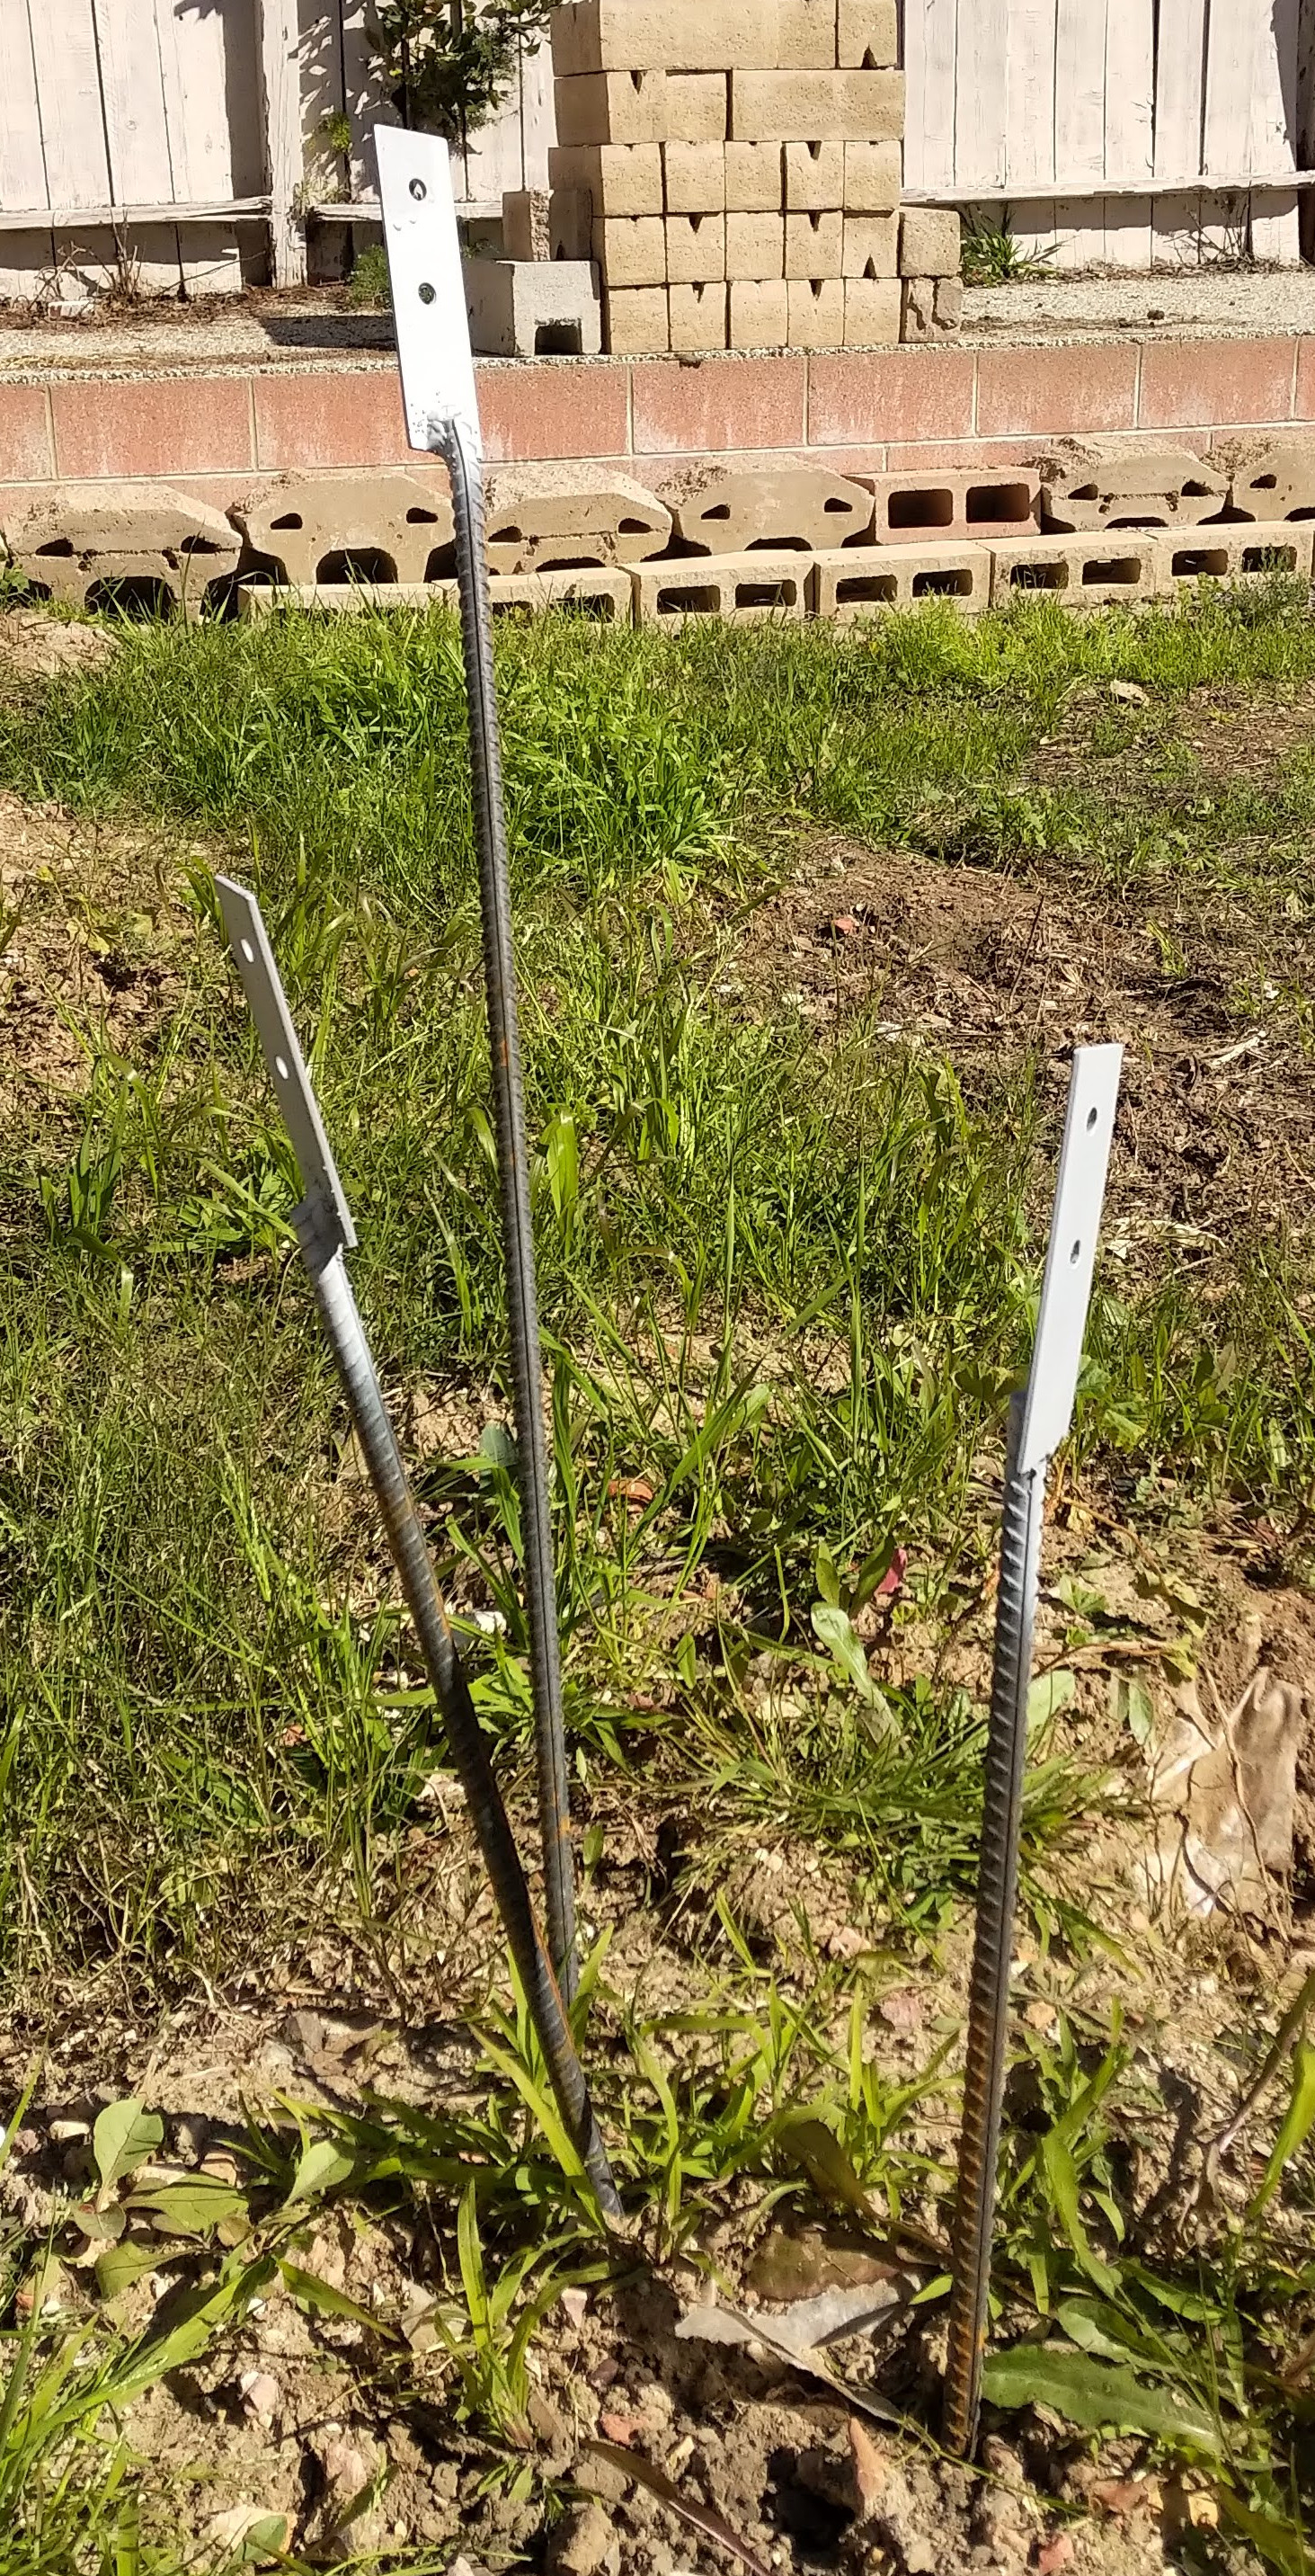
Anchor Paint. Here are the posts, painted with the primer. After this step, I painted them black, but on the same portion. I think it's better to leave the bulk of the rebar unpainted, so it bonds to the concrete better.
Here's how the post anchors look before I add the moarter to finish it off. The post-hole cement is a bit shattered here, since I had to bend these anchors quite a bit to get them to fit the correct arch spacing.
Here are the posts bolted to the anchor plates, and anchored in the wall.
We took a bunch of the leaves and branches from trimming the trees and put them in the base of the raised beds. Hopefully this will improve drainage and help to fertilize the beds.
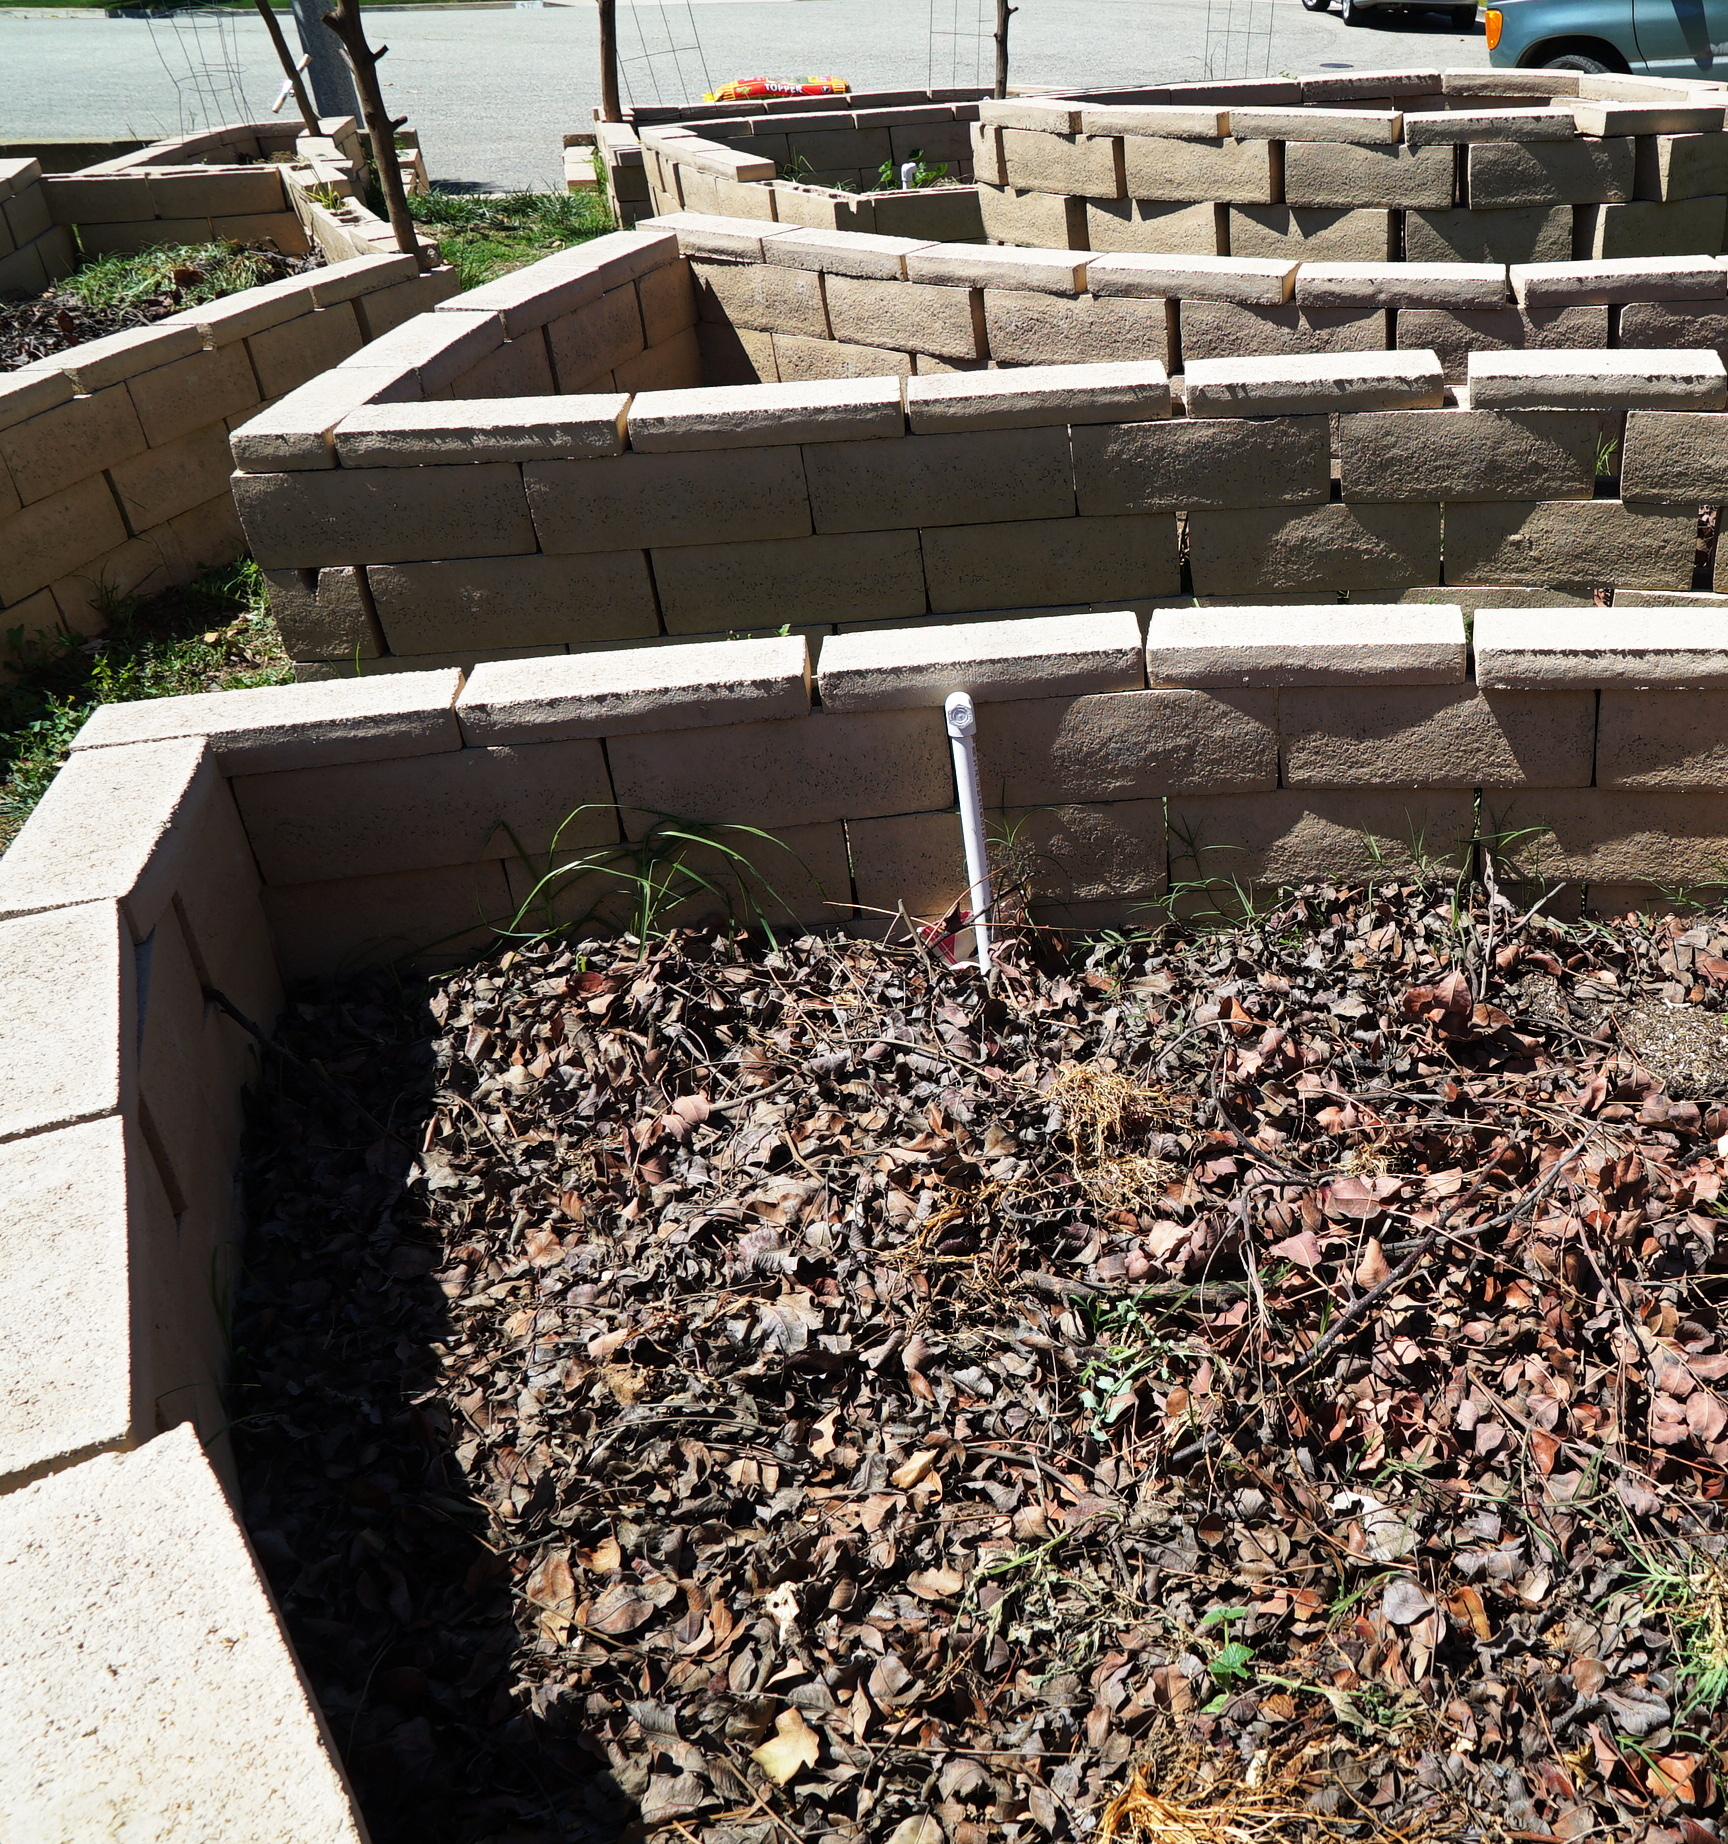
Over the leaves and branches, we're spreading a layer of horse-manure-enriched soil from the parent's house.
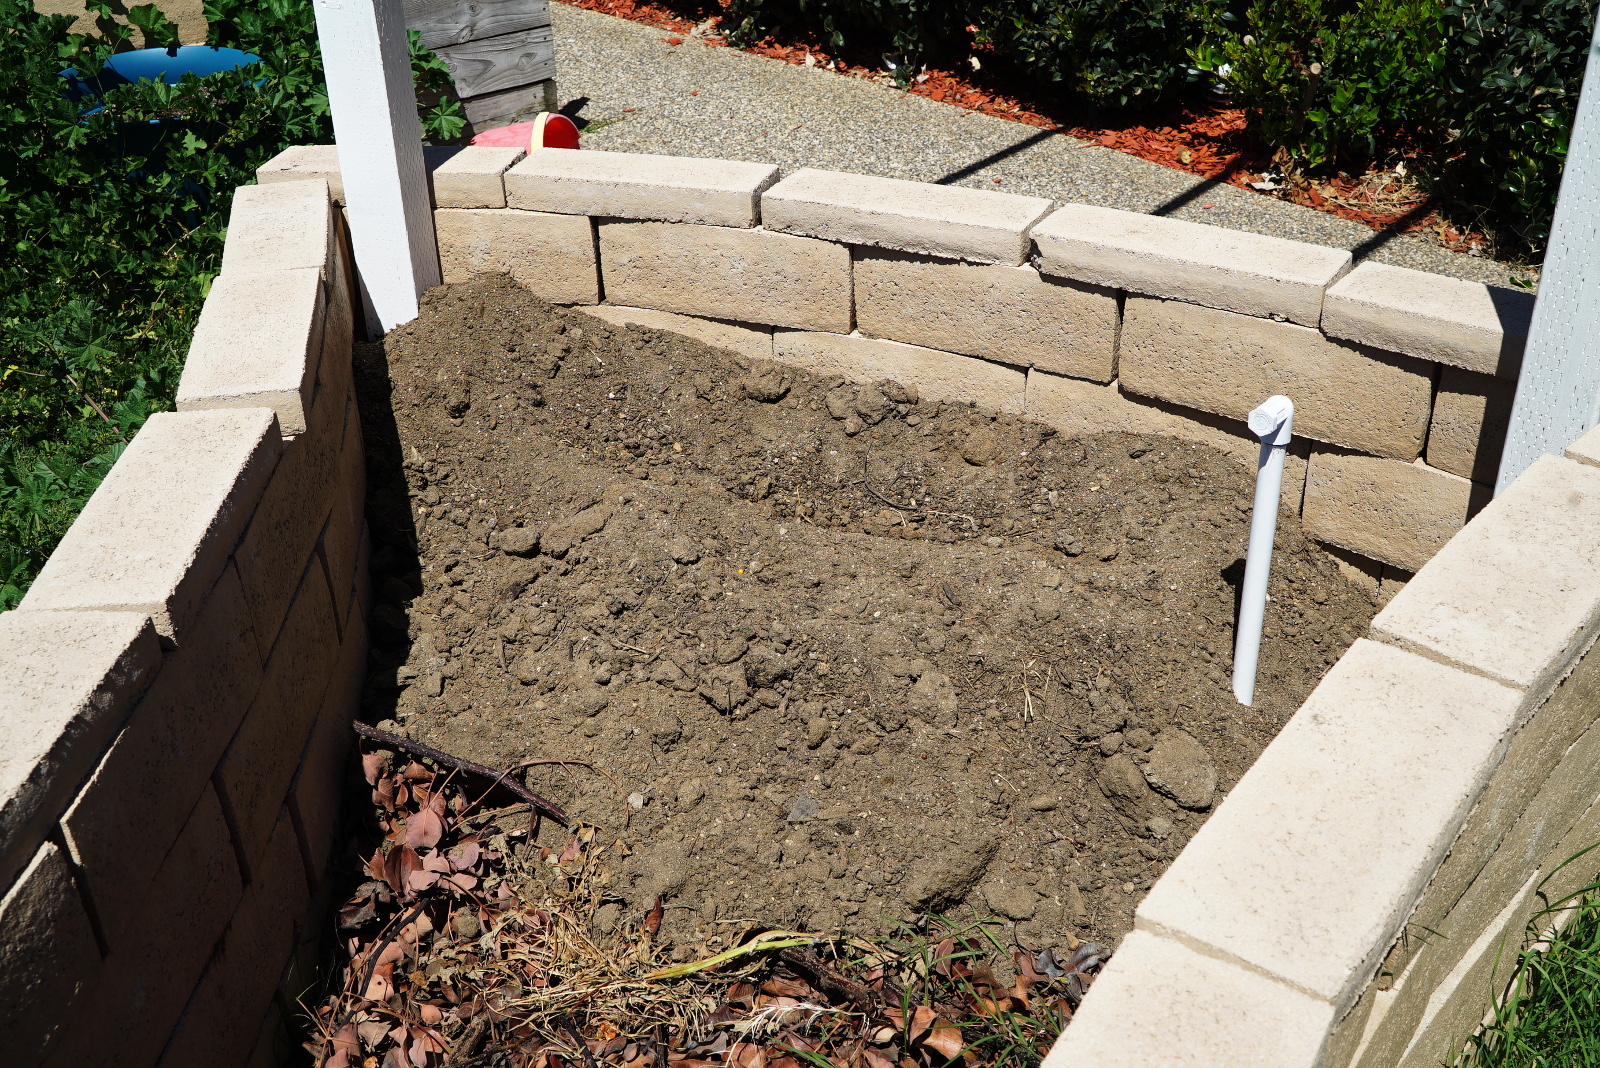
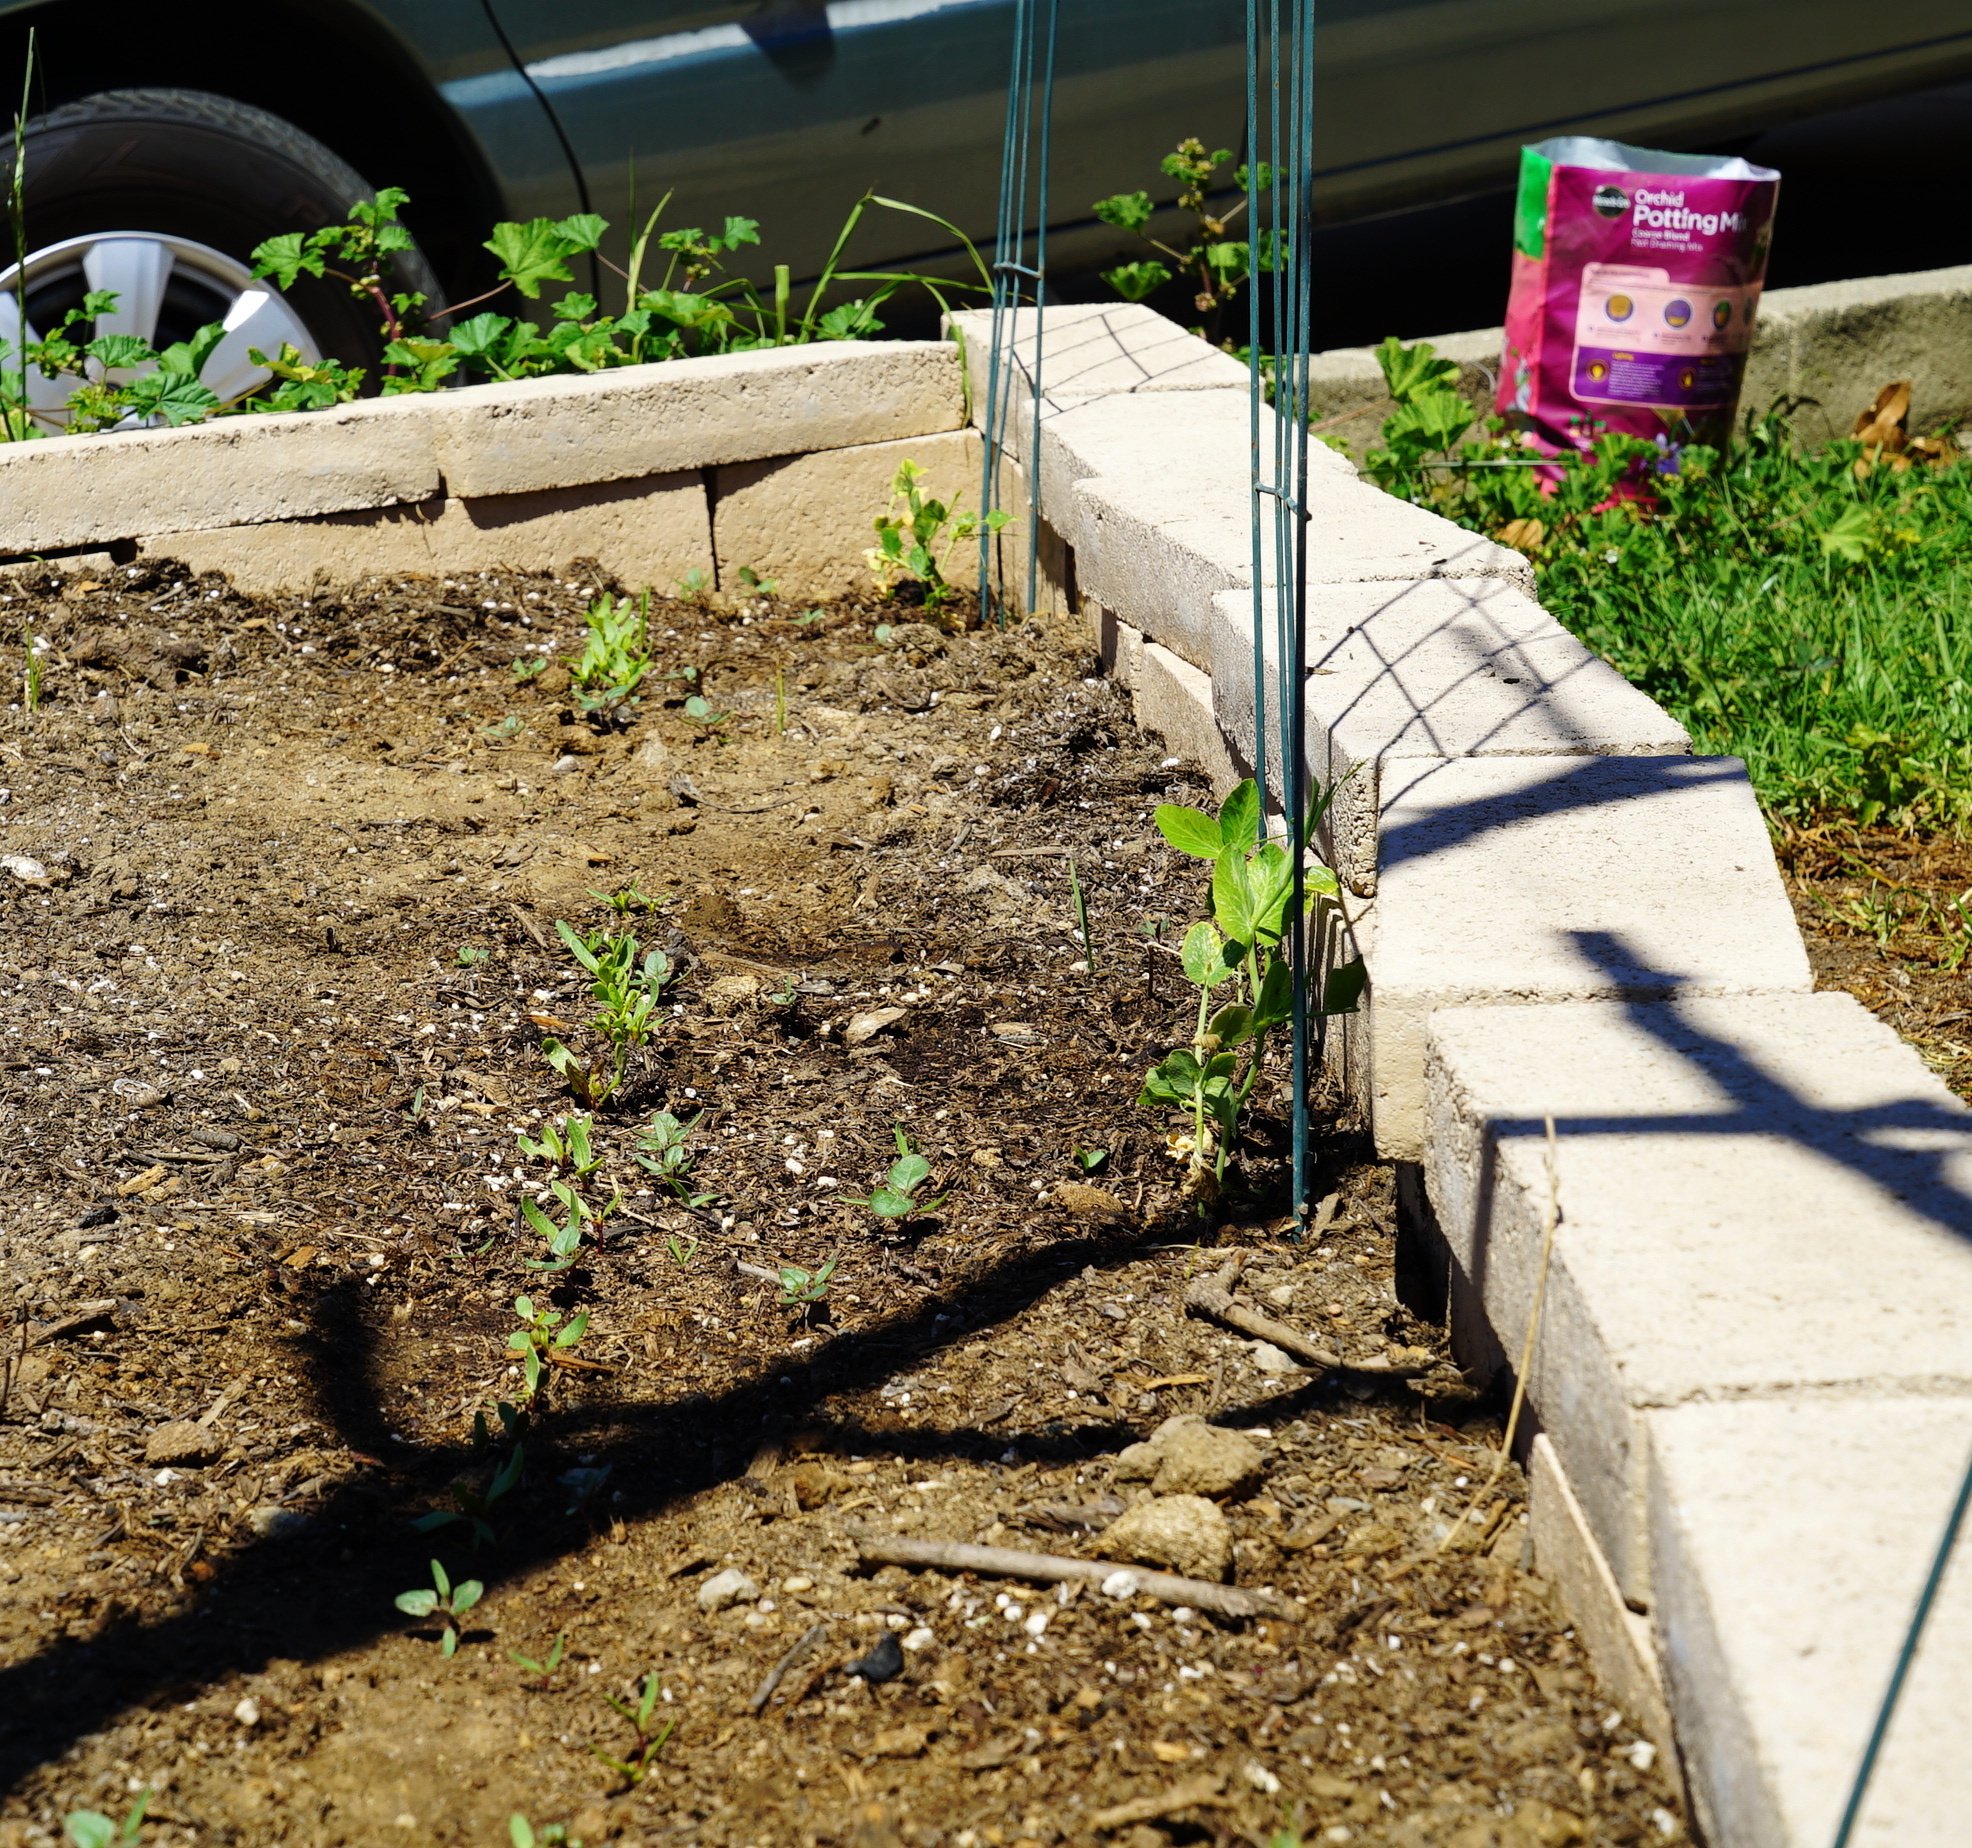
Plantings growing in the raised beds. Finally, after all the soil is in, we've planted some beans and things. Horay for gardening!
Big Arch. The big arch front arch. This one turned out pretty neat though. It's all lag-bolted together, with minimal cuts.
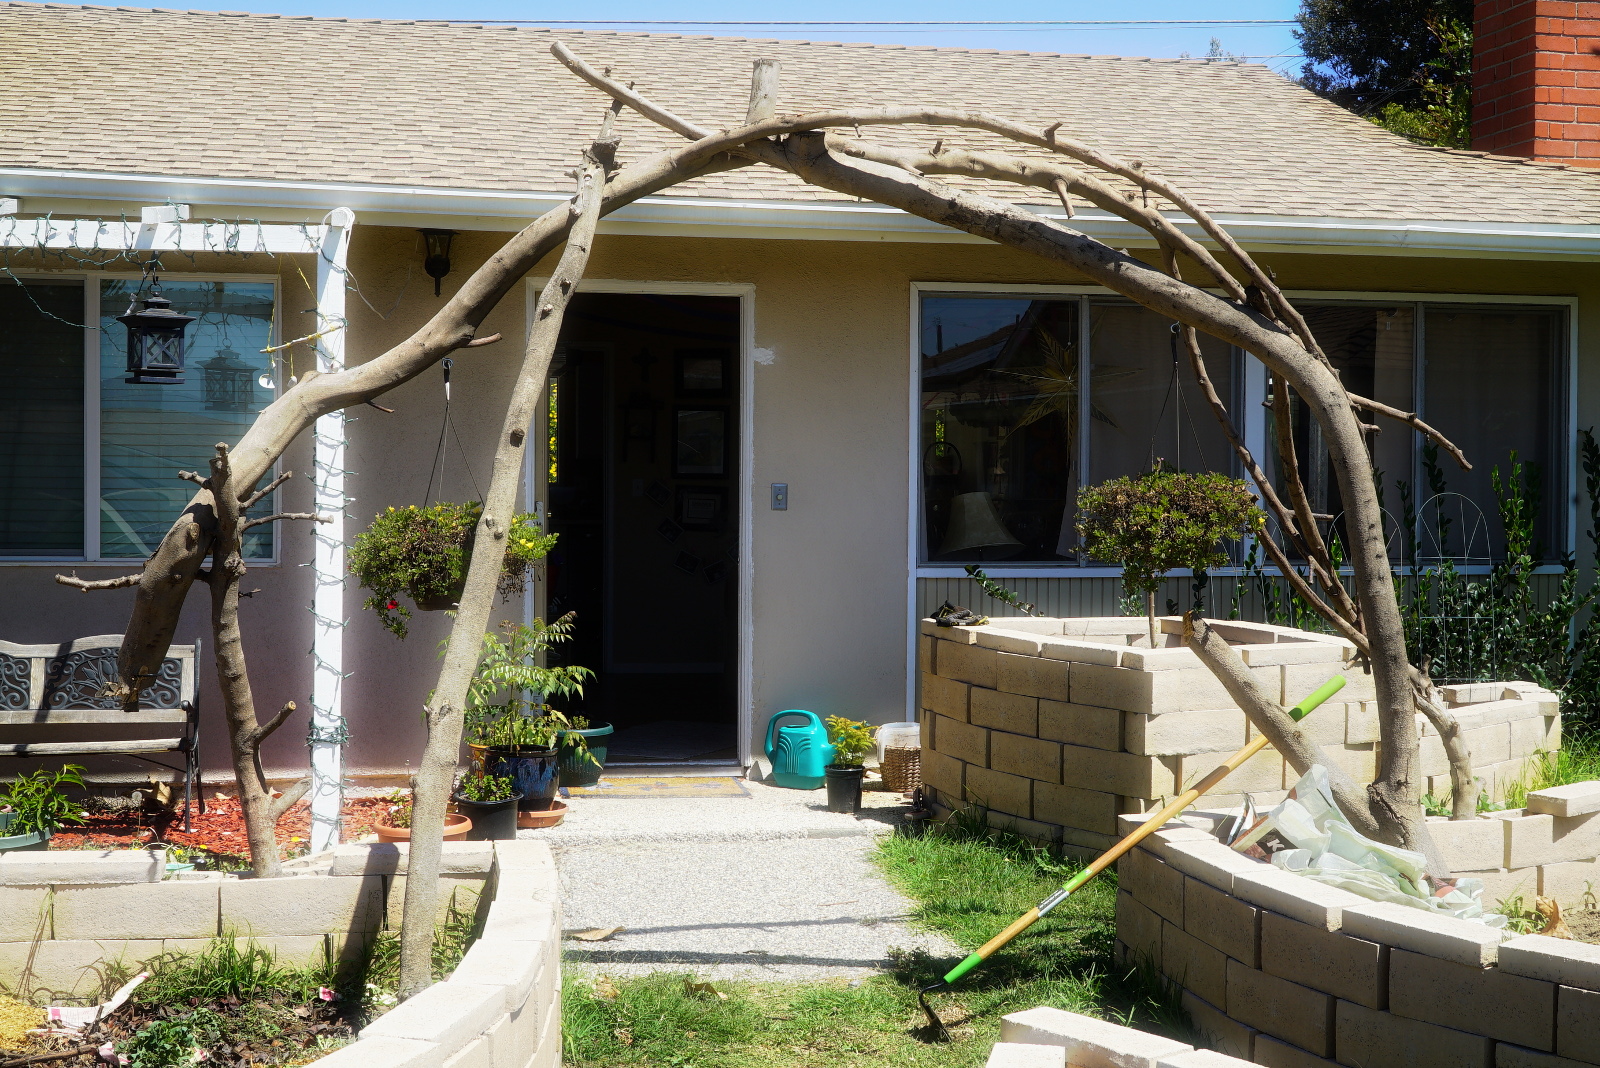
Wild Wood Arch. All three arches used to be raw wood like this, but this was the most solid one, and it's the only one we ended up keeping. The clearance is about the same as the others, but it feels lower because it's not square and is much wider. The branches were all trimmed from the tree in the background.