


I got a cheap laser engraver, and have been enjoying lasering all kinds of things. There's a Laser Engraving Gallery of other projects I've done, but this page is about a book shelf.
I occasionally do handyman work along with other physical products. If you'd like to commission a custom build, I can help you with that.
After I made that other mad mage bookshelf, we moved to a new house and predictably ran out of space for books. Instead of covering the walls, my wife suggested putting a single long shelf up high near the ceiling, kind of for her birthday. I agreed, and as a bonus I put a bunch of laser engraving on it as well.
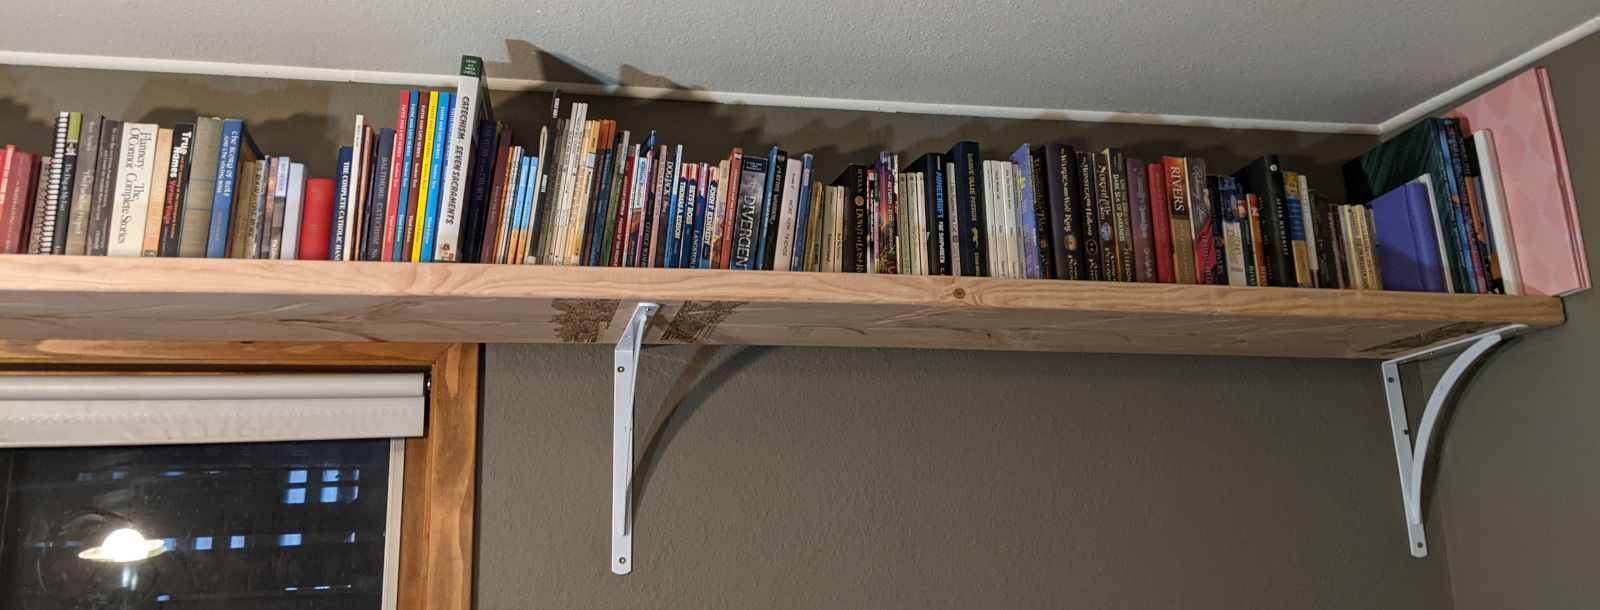
The shelf itself blends seamlessly between two 2x12 pieces of lumber with a rounded corner. I left a small gap next to the wall to prevent dust and debris from building up on the far side.
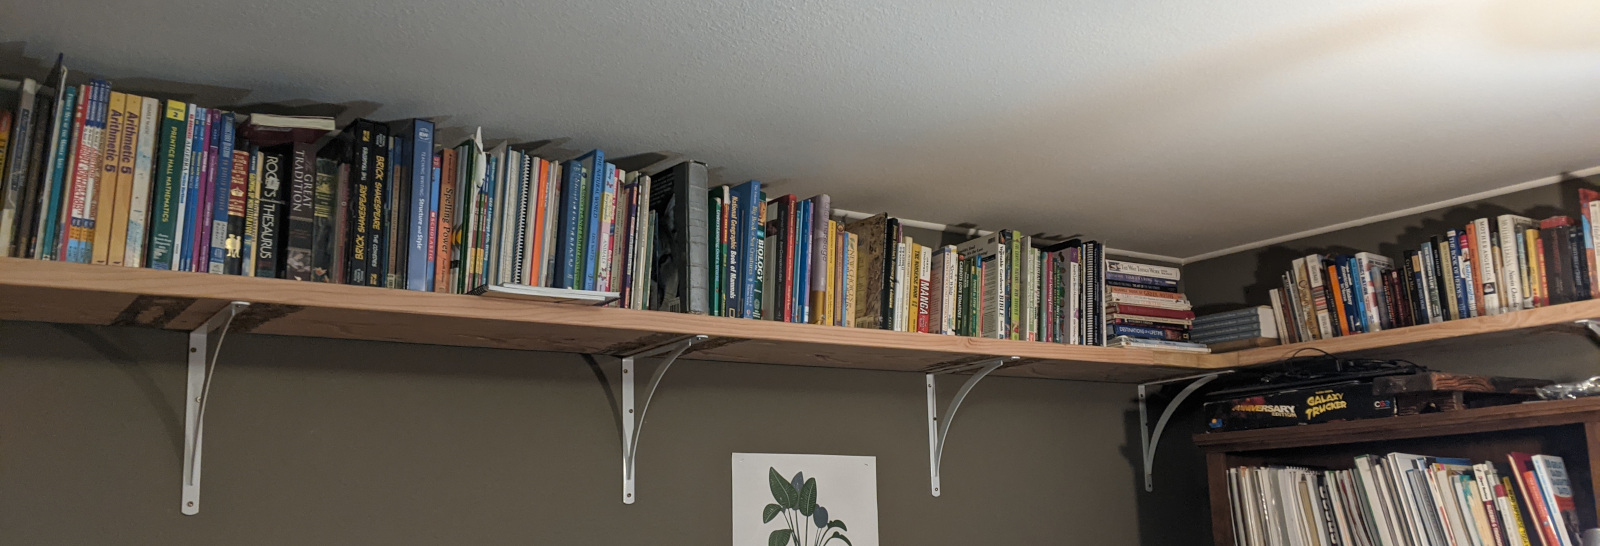
The corner piece is held in place with press-fit dowels, and could be pulled apart without damaging it if maintenance or alterations were required.
All of the designs were made by Midjourney. Most are slight variations on the following prompt:
looking up through baroque library, dense beautiful books everywhere, style of line drawing, black and white, white background and squiggly black lines, coloring book for adults ::3 looking up through an aspen forest, dense round leaves, slender branches, high contrast line drawing ::1.7 --ar 2:7 --quality 0.5 --stylize 220
Here are a selection of the designs which may or may not have been used to engrave the undersides of the shelf.


Some of the designs are more organic and forest-like


A few turned out very abstract


Here you can see how the designs translated into the laser engraving. I used a "center-line trace" program to generate the G-Code, and then imported and processed it in Blender before re-exporting it as G-Code and using that to run the laser.
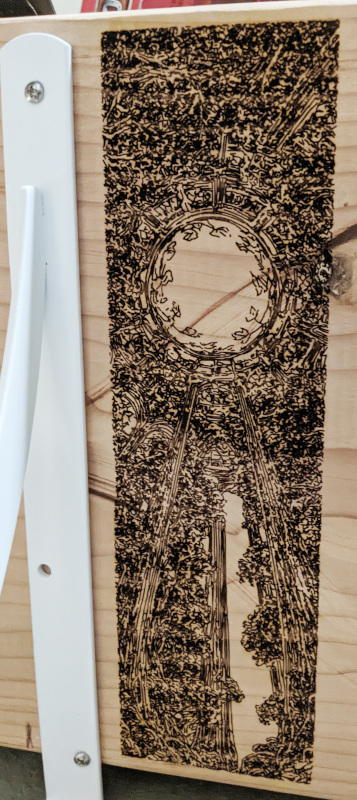
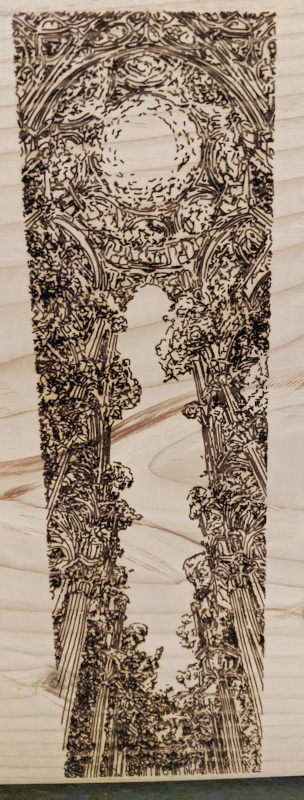
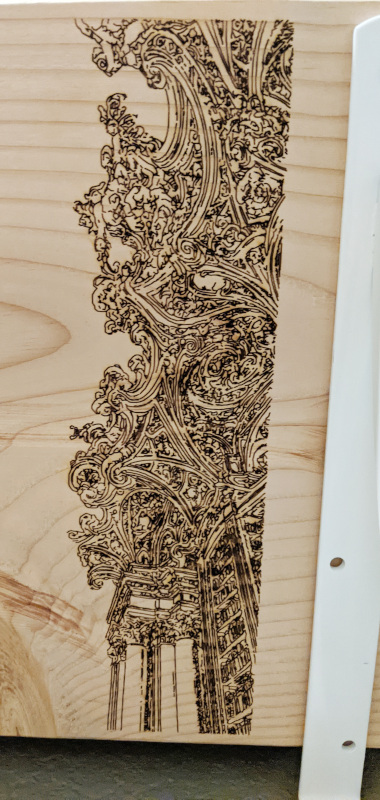
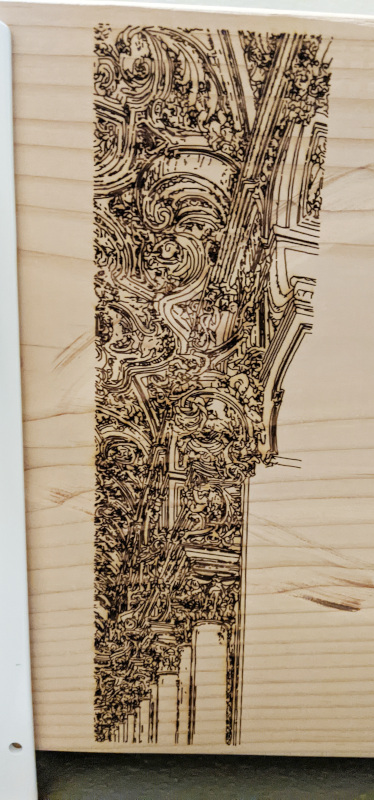
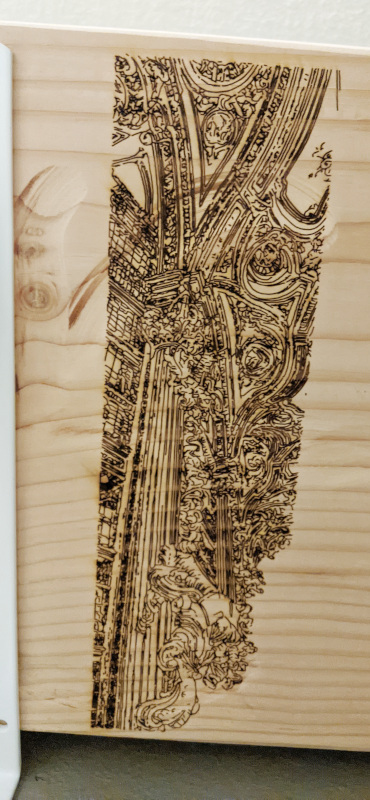
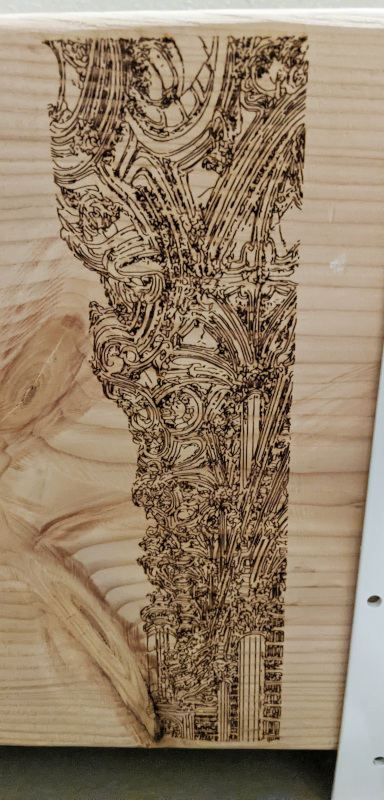
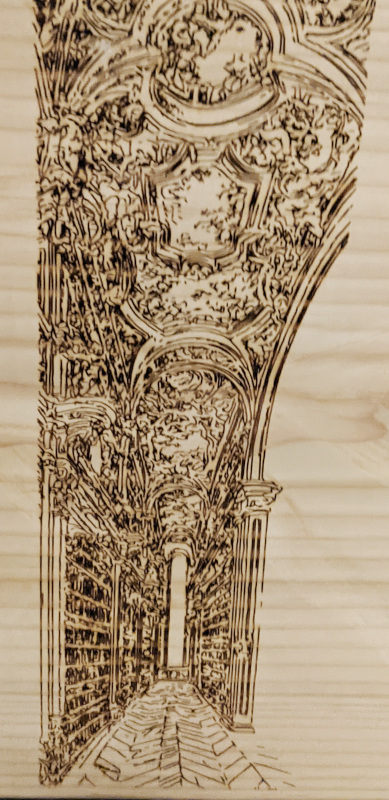
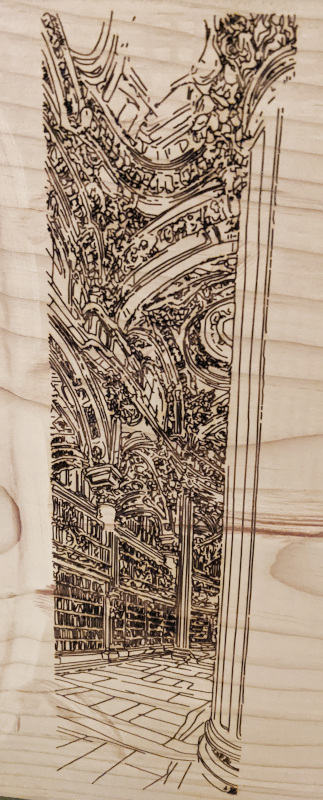
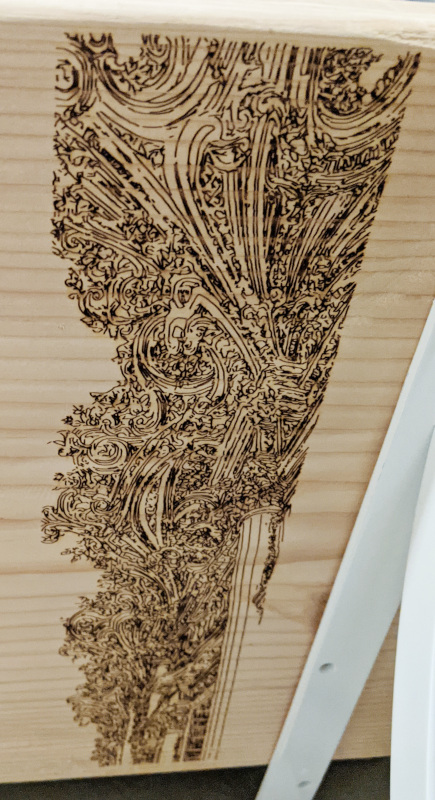
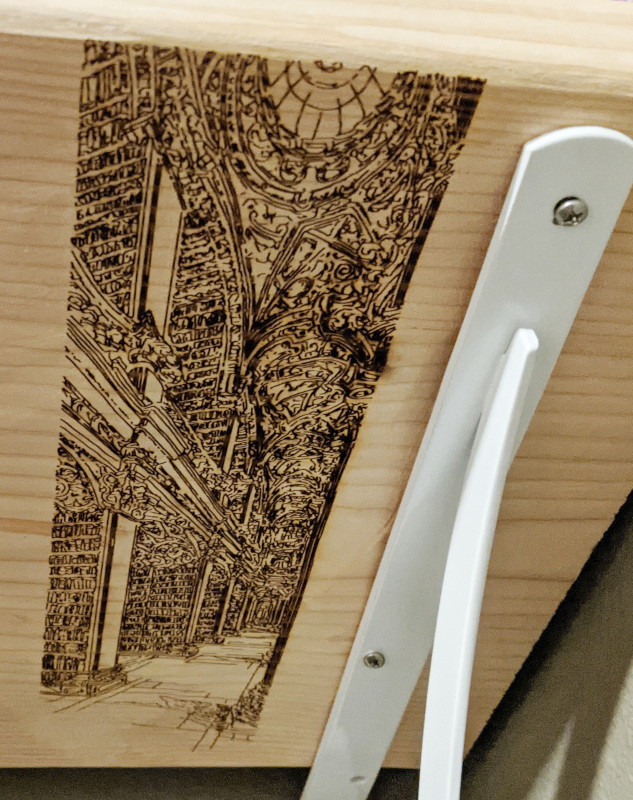
The corner was a bit more tricky, as I wanted the engraving to span all three pieces seamlessly. To do this I pre-assembled the whole shelf in the garage. You can just barely see in this (and a few of the other photos) where I carved an abstract vine design into the shelf using a flap-disc on an angle grinder. After assembly, I lasered it in two passes. If you can't see the seam, I did a good job.
At the bottom of this (and the next) photo you can see the radius decoration, which I am rather pleased with, as it both matches the inner radius of the shelf, and is (unlike the rest of the designs) almost entirely of my own devising.
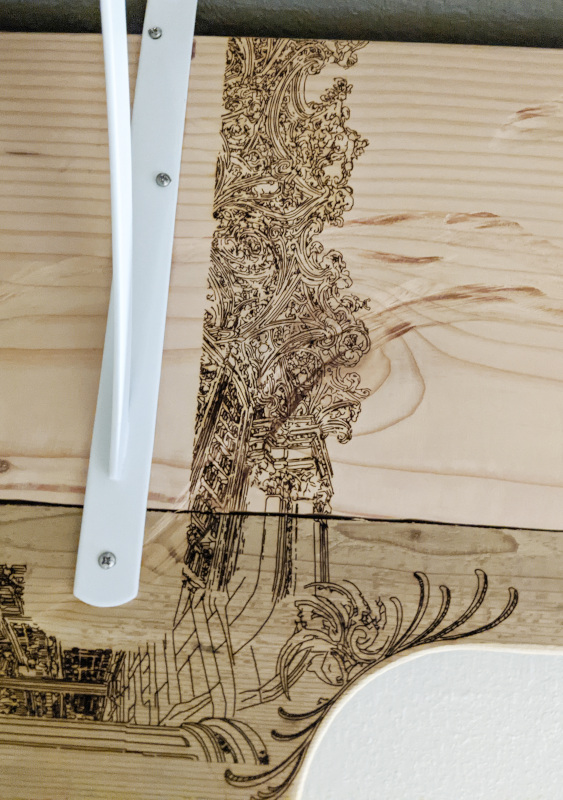
Here you see most of the splice board I put in to blend the corners together. The joints are a bit loose, but I didn't want to glue it in case I needed to get the whole thing apart for some reason. I'm quite happy with how the shelf supports line up with the engraving. One might suspect I installed the brackets after the fact, but since they are all anchored into the studs I installed them first, and then carefully measured their locations and tried to put the engraving in the right place. I didn't get it quite right for a few, but at least the corner engraving landed in the right spot!
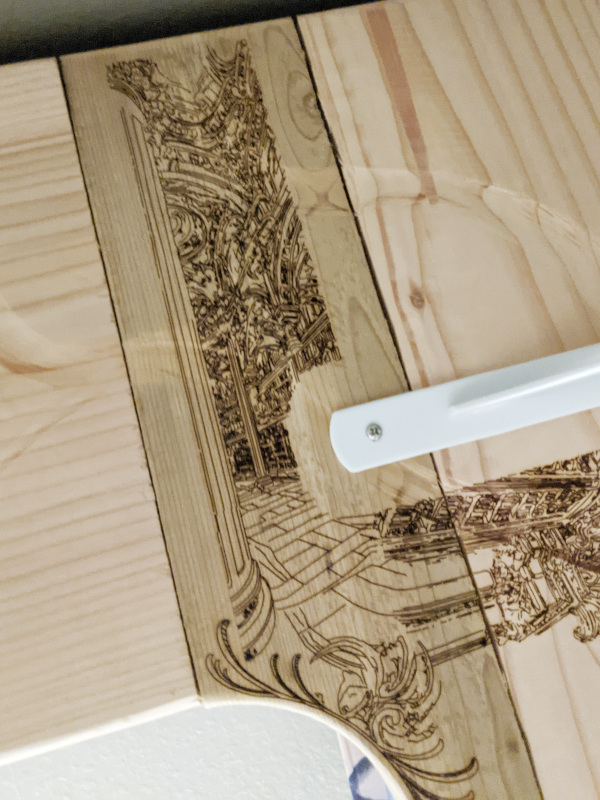
Yep, that's it. Thanks for joining me!
Well, I did put up another shelf, but that one didn't get laser engraving, just the difficult-to-see-in-photos angle grinding grooves. I also made a shelf for the computers, but again, no laser engraving on that either. I may, at some point, go back and do some laser decorations on those, but for now that's all the interesting parts of this project.